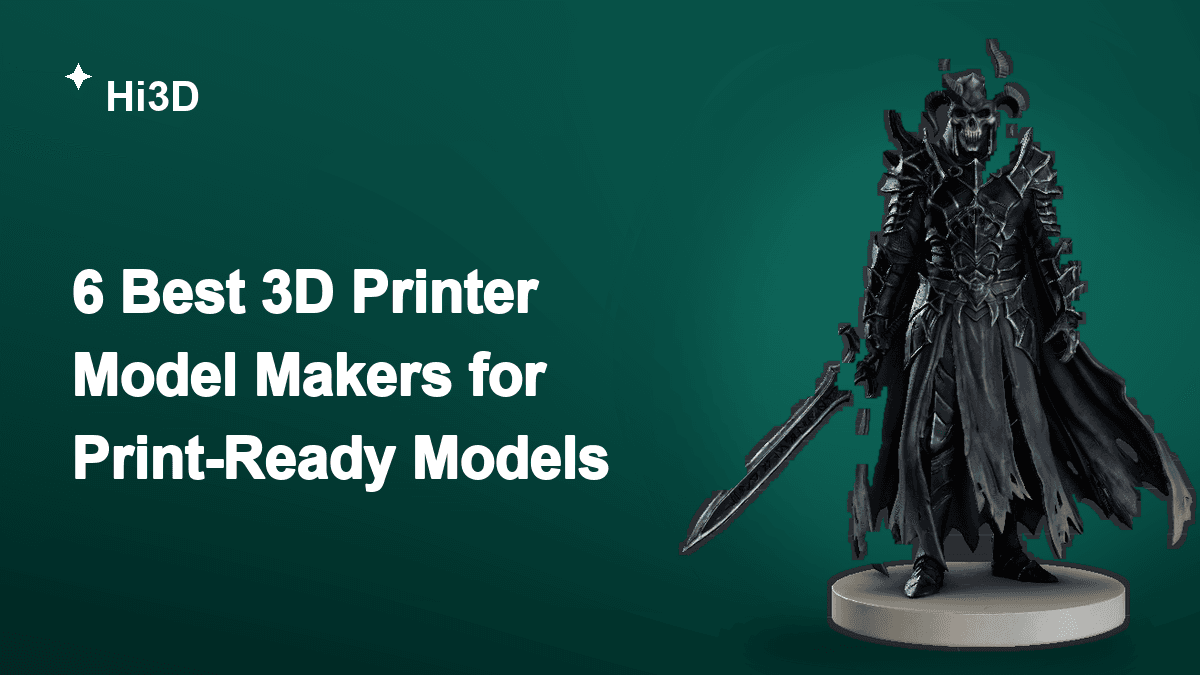
A model that looks excellent on screen can still be a terrible print. Thin parts snap, floating details vanish in the slicer, an impressive base is not flat, or the whole figure is too large for the build plate. That is why choosing a 3D printer model maker requires a different checklist from choosing a game-asset generator.
We compared six AI platforms with one detailed fantasy figure and paid particular attention to the geometry that would matter on a physical object: face, feathers, armor relief, weapon contact, feet, and the cracked base. We also checked whether the service continued into STL export, repair, splitting, connectors, color preparation, or slicer-oriented steps.
What Makes a Good 3D Printer Model Maker?
Choosing by gallery image alone is risky. These are the four checks that matter most for this search intent.
Inspect the white mesh, not the beauty render. Printed objects use geometry. If feathers, lettering, fingers, or cracks exist only in the texture, they will not appear on a monochrome print.
Check whether the model can become manifold. Look for closed surfaces, sensible intersections, a stable base, and tools that help repair or export to a slicer. No AI output should skip a final manifold check.
Large models need a splitting plan. A practical platform should help divide the object around natural seams and add connectors. Build volume, support access, assembly order, and visible join lines all influence the cut.
How We Tested and Compared the Best AI 3D Model Generators
For this comparison, we kept the input deliberately difficult. The reference character had a human face, layered wings, patterned armor, a long weapon, partially hidden limbs, and a detailed base. That combination exposes more problems than a mug, chair, or simple mascot.
We judged the visible outputs in three passes:
- Overall form: pose, proportions, silhouette, and the relationship between the character, weapon, wings, and base.
- Close detail: facial expression, feather grooves, armor patterns, fingers, and cracks in the platform.
- Structural mistakes: missing limbs, fused objects, changed weapon direction, or geometry that looked plausible only from the original camera angle.
I did not give a tool extra credit simply because its feature list was longer. Post-generation tools matter, but they cannot rescue a reconstruction that starts with the wrong shape. At the same time, this was a visual comparison rather than a laboratory benchmark. We did not have the original mesh files needed to measure topology, UV quality, manifold geometry, or exact polygon counts.
6 Best AI 3D Printer Model Makers
The six tools below are compared as 3D printer model makers rather than as general image generators. We look at free access, model detail, export and preparation features, plan pricing, and who is most likely to benefit from each workflow.
Hi3D
Hi3D is the most print-oriented platform in this comparison. It begins with high-detail image or multi-view generation, then continues into relief, Split-to-Print, connector creation, multicolor preparation, layout, and downstream printing tools. That continuity matters when the goal is a physical object rather than another digital preview.
The latest Hi3D v3.0 model reaches 2048³ voxel-level geometry, according to Hi3D. In practical terms, it is designed for the parts that tend to disappear first: engraved text, ornamental patterns, layered hair, and small sculptural details. Hi3D also describes cross-view structural reasoning for occluded areas and textures up to 8K. Those specifications belong to Hi3D 3.0, not every older model or mode on the platform.
In our supplied comparison, Hi3D came closest to a one-to-one reconstruction. The facial contour remained recognizable, individual feather layers kept their texture, the armor scales stayed distinct, and even the cracks around the base survived. Calling any single-image conversion literally 100% accurate would be too strong, but visually this was the only result that retained nearly every signature detail we were checking.
The workflow after generation is another reason it ranks first. Split-to-Print can divide a large model into printable parts, while the multicolor workflow helps turn a textured asset into a physical color plan. You still need to check wall thickness, connector clearance, scale, and manifold geometry before printing. Hi3D is a shortcut to a strong starting point, not a replacement for engineering validation.
- Price: Free includes 100 lifetime credits. Pro, Max, and Ultra include 1,000, 2,400, and 8,000 monthly credits. Free assets are public under a CC BY 4.0 license; paid plans add private commercial assets and broader downloads.
- Pros:
- Best visible detail retention in the supplied comparison.
- Hi3D 3.0 combines 2048³ geometry, occlusion reasoning, and up-to-8K textures.
- Generation, printable-part splitting, and multicolor preparation live in one workflow.
- The interface is approachable enough for beginners without removing advanced quality choices.
- Cons:
- The Free allowance is lifetime rather than monthly.
- Subscription credits reset instead of rolling over.
- Master-quality generations can use substantially more credits than a quick draft.
- Precision parts still require manual inspection or CAD work.
- Best for: Detailed characters, collectibles, sculptures, print-first creators, and anyone who wants fewer handoffs between generation and printing.
Meshy
Meshy is probably the easiest platform here to understand on the first visit. You can move from a text prompt or image to a model, then remesh, texture, rig, animate, or send the asset through one of its integrations. For an indie game team that needs a lot of props rather than one hero sculpture, that breadth is genuinely useful.
The test result was acceptable at silhouette level, but the close-up did not hold. The expression changed, the feather grooves blurred into broader shapes, and the armor’s surface design never really made it into the mesh. That makes Meshy a better fit for fast asset production than for a faithful collectible based on a complex illustration.
Its Free plan refreshes 100 credits each month, which sounds generous until you reach the export stage: newly generated Free models cannot be downloaded. Paid plans unlock unlimited downloads, private assets, commercial rights, multi-view input, and API access.
- Pros:
- Clean, beginner-friendly interface with a quick first result.
- Strong collection of texturing, remeshing, rigging, and animation tools.
- Useful Blender, Unity, and printing integrations.
- Monthly Free credits are good for continued experimentation.
- Cons:
- Free users cannot download newly generated models.
- The credit cost changes by model version and operation.
- Monthly credits do not roll over.
- Some of the most useful production features require Pro or higher.
- Best for: Game developers, animators, and creators who value speed and ecosystem coverage more than exact image matching.
Tripo AI
Tripo AI sits in a useful middle ground. It is quick to learn, but it also offers multi-view generation, Smart Mesh, segmentation, retopology, rigging, animation, and bridges to tools such as Blender, Maya, Unity, Unreal, and ZBrush. If you already know where the asset is going next, those connections save time.
Its output was the strongest alternative to Hi3D in our visual test. The overall character and facial expression stayed consistent, and the form looked coherent at normal viewing size. Zooming in revealed the compromise: several original patterns and fine surface lines were simplified or missing.
The Free plan gives 200 monthly credits, but models are public, non-commercial, and subject to limited storage and exports. Pro is reasonably priced for individual creators; the jump from Pro to Max is much steeper.
- Pros:
- Good balance of speed, visible fidelity, and production tools.
- Multi-view input reduces guesswork around the back and sides.
- Built-in segmentation, rigging, and animation cover common character tasks.
- DCC Bridge supports a long list of creative applications.
- Cons:
- Free output is public and restricted to non-commercial use.
- The Max plan is expensive for occasional creators.
- Credit consumption varies with the selected feature and quality level.
- The plan comparison is dense enough to require careful reading.
- Best for: Character artists, game teams, and creators who want multi-view input plus rigging and DCC integration.
3D AI Studio
3D AI Studio takes a different approach: instead of asking you to choose one model family, it puts more than 20 engines in the same workspace. The lineup includes its own Prism models alongside Meshy, Tripo, Rodin, Hunyuan3D, TRELLIS, and others. That is handy because the “best” engine can change with the subject.
For our comparison, we used the platform’s TRELLIS.2 option to avoid simply repeating another product’s engine. The white mesh captured the basic idea, but very little of the face, feather structure, armor patterning, or base detail survived. That result applies to the tested engine and settings; it does not mean every engine inside 3D AI Studio performs the same way.
Beyond generation, the service includes AI texturing, quad remeshing, repair, format conversion, model splitting, and a node-based Flow workspace. The trade-off is choice overload. Beginners may spend more time deciding which engine and credit cost to use than they would on a single-model platform.
- Pros:
- Lets you run the same reference through several major engines.
- Includes remeshing, repair, texturing, splitting, and workflow automation.
- Supports major 3D export formats and commercial assets on paid plans.
- Offers annual subscriptions and non-expiring one-time credit packs.
- Cons:
- More complicated than a focused upload-and-generate tool.
- Different engines and options consume different credit amounts.
- The Pro tier is expensive for a solo user.
- Output consistency depends heavily on the engine you choose.
- Best for: Experienced creators, studios, and reviewers who want to compare several AI 3D engines without managing separate accounts.
Neural4D
Neural4D combines image-to-3D and text-to-3D with PBR materials, texturing, remeshing, motion tools, animation, API access, and exports such as OBJ, FBX, GLB, USDZ, STL, and BLEND. It is attractive to hobbyists because the free access includes downloadable untextured geometry for personal use.
In the supplied comparison, the gap in finish was obvious. The face, outer contour, and small surface details looked softer and less controlled than the leading results. I would use it for testing a concept or checking whether an image can become a workable volume—not as my first choice for a detailed display model.
The more practical warning is pricing clarity. When checked, Neural4D’s current homepage listed Free, Go, Plus, and Pro monthly options, while its dedicated pricing page still showed an older 7-Day Pass and Pro structure. Check the final checkout price and included credits before subscribing.
- Pros:
- A free path to downloading an untextured personal-use mesh.
- Broad export support, including STL and BLEND.
- PBR, motion, animation, and API tools extend beyond basic generation.
- Entry pricing can suit short experiments.
- Cons:
- Free downloads are untextured and not intended for commercial use.
- Official pricing pages were inconsistent when checked.
- The product ecosystem and documentation feel less mature than Meshy or Tripo AI.
- There are fewer print-specific preparation tools than Hi3D offers.
- Best for: Students, hobbyists, and occasional users who want to inspect a white mesh before paying.
Hyper3D
Hyper3D is built around Rodin and gives creators a useful bit of control before spending: you can preview a result, then confirm the credit charge. It supports image, text, and multi-image generation, plus Smart Low-Poly, HD or custom textures, baked normals, polygon controls, plugins, and API access on the Business plan.
Our test exposed the biggest structural failure in the group. The weapon changed direction and an arm disappeared, which altered the relationship between the character and the object it was holding. A second view might help with that kind of ambiguity, but the supplied result was too far from the reference to recommend for this particular image.
Hyper3D makes more sense when you like Rodin’s look, want to review before confirming payment, or need its low-poly and texture controls. Direct credits cost $1.50 each, so occasional generations can become expensive surprisingly quickly.
- Pros:
- Preview-before-confirmation reduces the risk of spending on an obviously bad result.
- Multi-image input can clarify hidden or overlapping structures.
- Strong low-poly, normal-baking, and texture controls.
- Creator and Business plans include private assets and broad usage rights.
- Cons:
- Direct credits are costly for repeated experimentation.
- Full API access requires the $120-per-month Business plan.
- The platform is less focused on print splitting and connector workflows.
- Its wider image, video, and avatar toolset may be unnecessary for 3D-only users.
- Best for: Rodin users, low-poly creators, and people who prefer previewing a result before committing credits.
How to Generate a 3D Model with Hi3D
Hi3D’s basic image-to-3D workflow takes three steps. Spend more time choosing the reference image than clicking the controls; a clean source prevents a surprising amount of repair later.
1. Upload Your Image
Open Hi3D, click Try for Free, and enter the workspace. Upload an image with one clear subject, a simple background, visible edges, and as little overlap as possible. If you have consistent front, side, or rear views, use the multi-view option.
2. Choose the Right Parameters
Use the panel on the left to set:
- Model Version: Choose Hi3D 3.0 when fine detail and structural fidelity matter most.
- Model Type: Select High Quality for a balance of quality and generation time, or Master for complex scenes and the highest available quality.
- Generate Type: Pick geometry-only output for shape inspection or texture-enabled output when color and materials are part of the final asset.
3. Download the Model
After generation, rotate the preview before downloading. Check the back, hands, accessories, intersections, and base—not just the original camera view. Then choose the format required by your editor, game engine, or slicer. If the model is large or multicolor, continue into Split-to-Print or the multicolor workflow before final export.
Final Verdict
Hi3D is the best 3D printer model maker in this group for detailed figures and sculptural references. The supplied model retained the most printable-looking surface information, and the platform's splitting and multicolor tools reduce the number of separate services needed later. Meshy remains useful for repair and slicer integrations; Neural4D offers a low-cost white-mesh checkpoint. Before printing any AI model, confirm scale, wall thickness, manifold geometry, support access, connector clearance, and base contact. AI can shorten model creation, but the printer still obeys physics.