The good news is that you don’t need to be a professional 3D artist to start creating. Today, there are multiple ways to get printable models, each with different trade-offs in speed, cost, customization, and learning curve.
Whether you’re printing a figurine, a functional part, or a personalized gift, here’s how makers typically get their models.
Option 1: Learn 3D Modeling Yourself
If you want complete control over what you create, learning 3D modeling is the most powerful path.
Popular tools include: Blender、Fusion 360、Tinkercad、Onshape、SolidWorks
| Advantages | Challenges | Best For |
|---|---|---|
| Unlimited customization | Steep learning curve | Product designers |
| Create exactly what you imagine | Can take weeks or months to become comfortable | Engineers |
| Valuable long-term skill | Serious hobbyists | |
| Ideal for original projects | Complex organic models require significant practice | Makers who enjoy creating from scratch |
For many makers, learning CAD is a rewarding investment. However, if your goal is simply to print something today, there may be faster options.
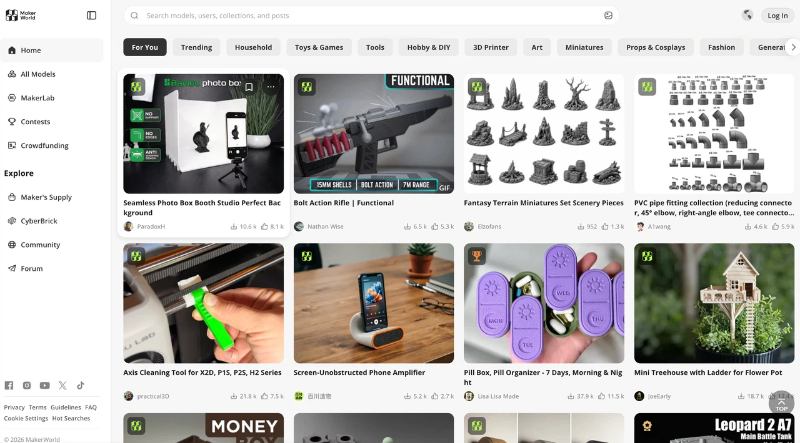
Option 2: Download Models from the Community
The easiest way to start printing is downloading models created by other makers.
Thousands of free and paid designs are available online.
Popular communities include: MakerWorld,Printables, Thingiverse, MyMiniFactory, Cults3D
You can find: Functional tools, Storage solutions, Miniatures, Cosplay props, Home decor, Toys and collectibles
| Advantages | Challenges | Best For |
|---|---|---|
| Fastest way to start printing | Limited customization | Beginners |
| Huge variety of designs | Finding exactly what you want | Casual makers |
| Many models are already tested by the community | Can take time | Anyone looking for quick results |
| Often completely free | Print quality depends on the original designer |
Before downloading, check user photos, print history, and reviews whenever possible. A model that has been successfully printed by hundreds of users is usually a safe choice.
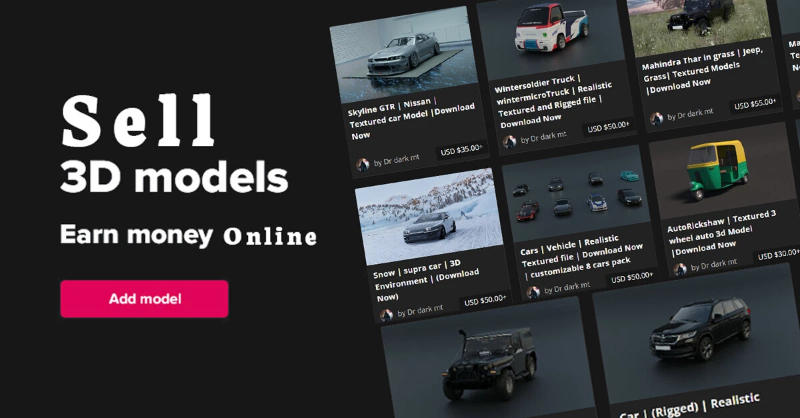
Option 3: Buy or Commission Custom Models
Sometimes the model you need simply doesn’t exist.
In these cases, makers often purchase premium designs or hire designers to create custom work.
Typical use cases include: Personalized gifts, Commercial products, Character sculptures, Business prototypes, One-of-a-kind projects
| Advantages | Challenges | Best For |
|---|---|---|
| Professional-quality results | More expensive | Businesses |
| Saves significant design time | Requires communication with designers | Professional creators |
| Fully customized to your needs | Longer turnaround time | High-value projects |
Think of this option as hiring an expert when the project is too important to compromise.
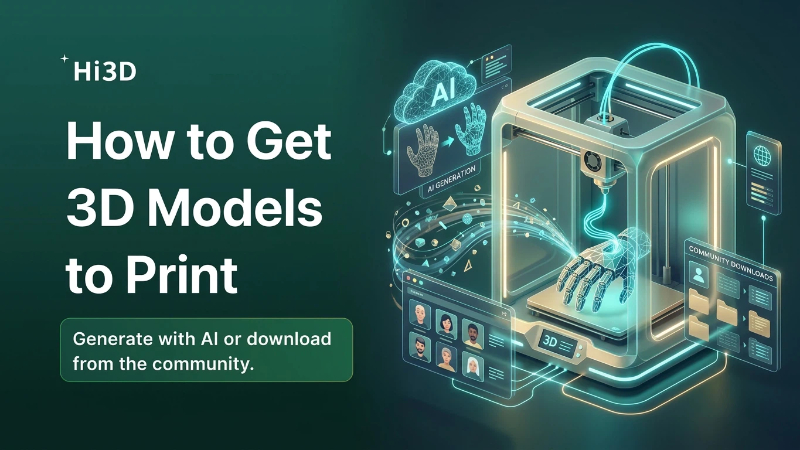
Option 4: Generate Models with AI
This is where things get exciting.
AI is changing how makers create 3D content.
Instead of spending hours modeling or searching through libraries, you can now generate original designs from text prompts or reference images.
| Advantages | Challenges | Best For |
|---|---|---|
| Unlimited customization | Steep learning curve | Product designers |
| Create exactly what you imagine | Can take weeks or months to become comfortable | Engineers |
| Valuable long-term skill | Serious hobbyists | |
| Ideal for original projects | Complex organic models require significant practice | Makers who enjoy creating from scratch |
AI doesn’t replace traditional modeling—it removes the barrier to getting started.
From AI Concept to Printable Model
Generating a model is only part of the workflow.
To successfully print a model, makers often need additional preparation steps:
- Repair geometry
- Check wall thickness
- Add supports
- Split large models
- Optimize orientation
- Prepare slicing settings
Traditionally, this required multiple software tools and a lot of manual work.
Today, AI-assisted workflows can automate much of the process.
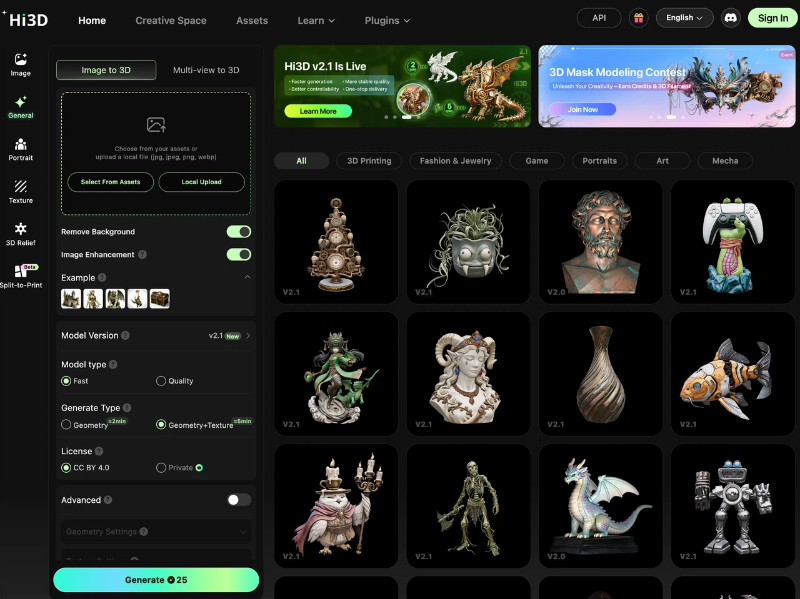
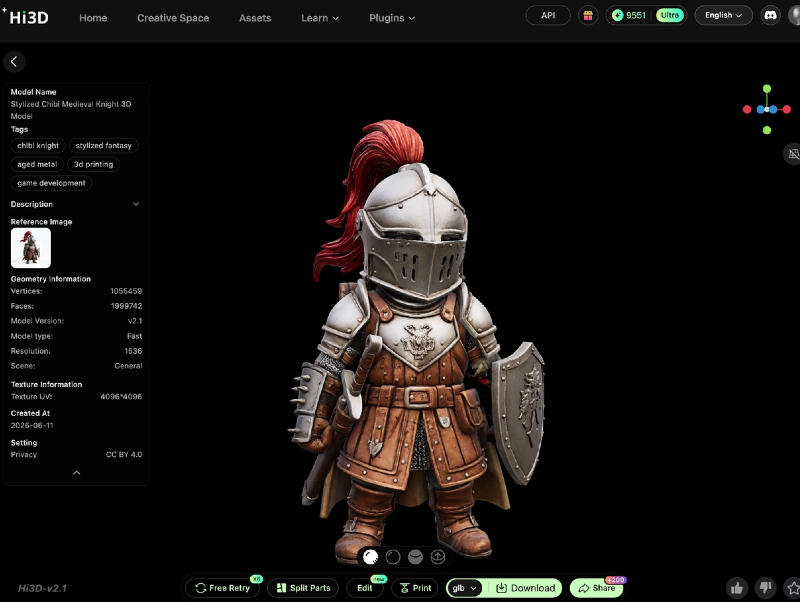
A Faster Workflow with Hi3D
Hi3D was built to simplify the journey from idea to print.
Instead of jumping between multiple applications, makers can generate, prepare, and optimize models in a single workflow.
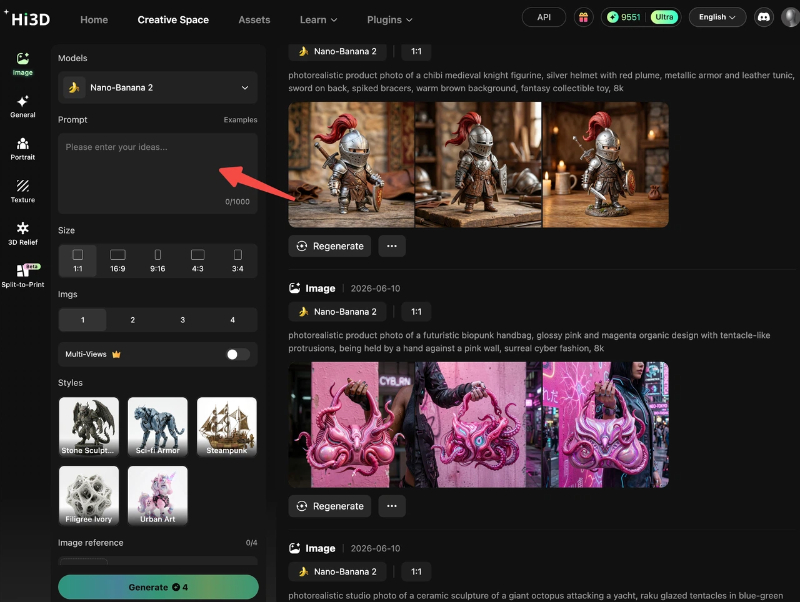
Generate 3D Models from Text
Describe what you want.
Hi3D can transform text prompts into printable 3D concepts, helping you quickly explore ideas without starting from a blank screen.
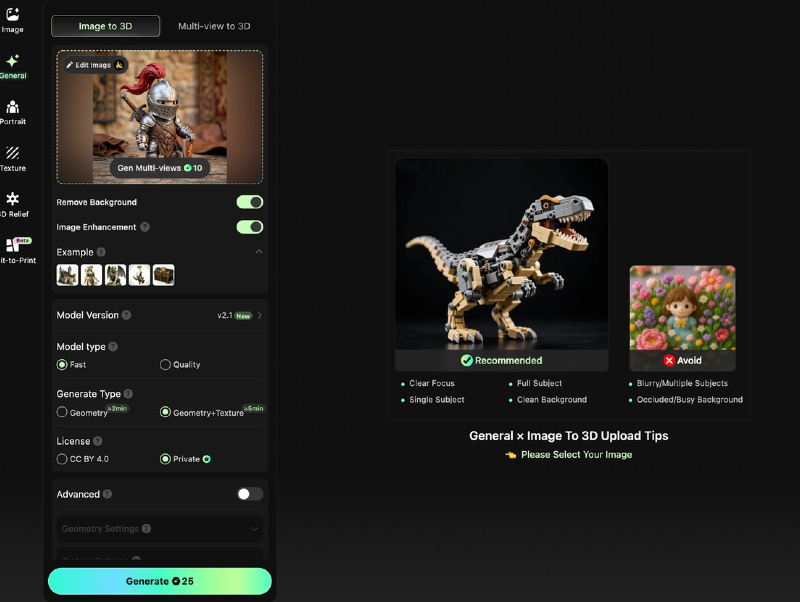
Convert Images into 3D Models
Already have concept art, sketches, or reference images?
Image-to-3D generation helps turn visual inspiration into printable geometry.
Split Large Models Automatically
Large character models and statues often exceed a printer’s build volume.
Hi3D’s Split-to-Print feature automatically divides models into printable parts, reducing manual preparation work.

Generate Connectors for Easy Assembly
After splitting, Hi3D can automatically create connectors that help align and assemble printed parts more accurately.

Intelligent Print Orientation
Proper model orientation can improve print quality and reduce support usage.
Hi3D analyzes models and helps identify print-friendly positioning.
Streamline Your Workflow
Instead of spending hours preparing files, makers can focus on what matters most: creating and printing.
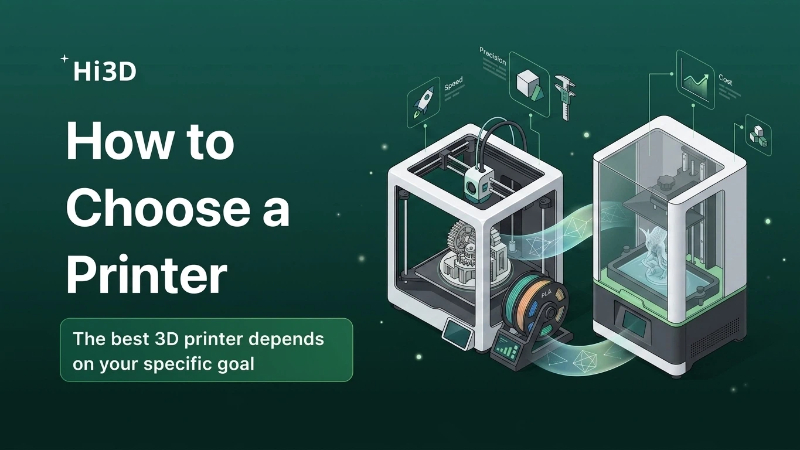
Which Method Should You Choose?
There isn’t a single right answer.
Most makers eventually use a combination of approaches.
A typical journey looks like this:
- Download community models.
- Learn basic customization.
- Experiment with AI generation.
- Develop modeling skills over time.
The important thing is to start creating.
Whether you’re downloading a proven design, generating something entirely new with AI, or building your own models from scratch, there has never been a better time to be a maker.
The hardest part isn’t finding a model anymore.
It’s deciding what to create next.