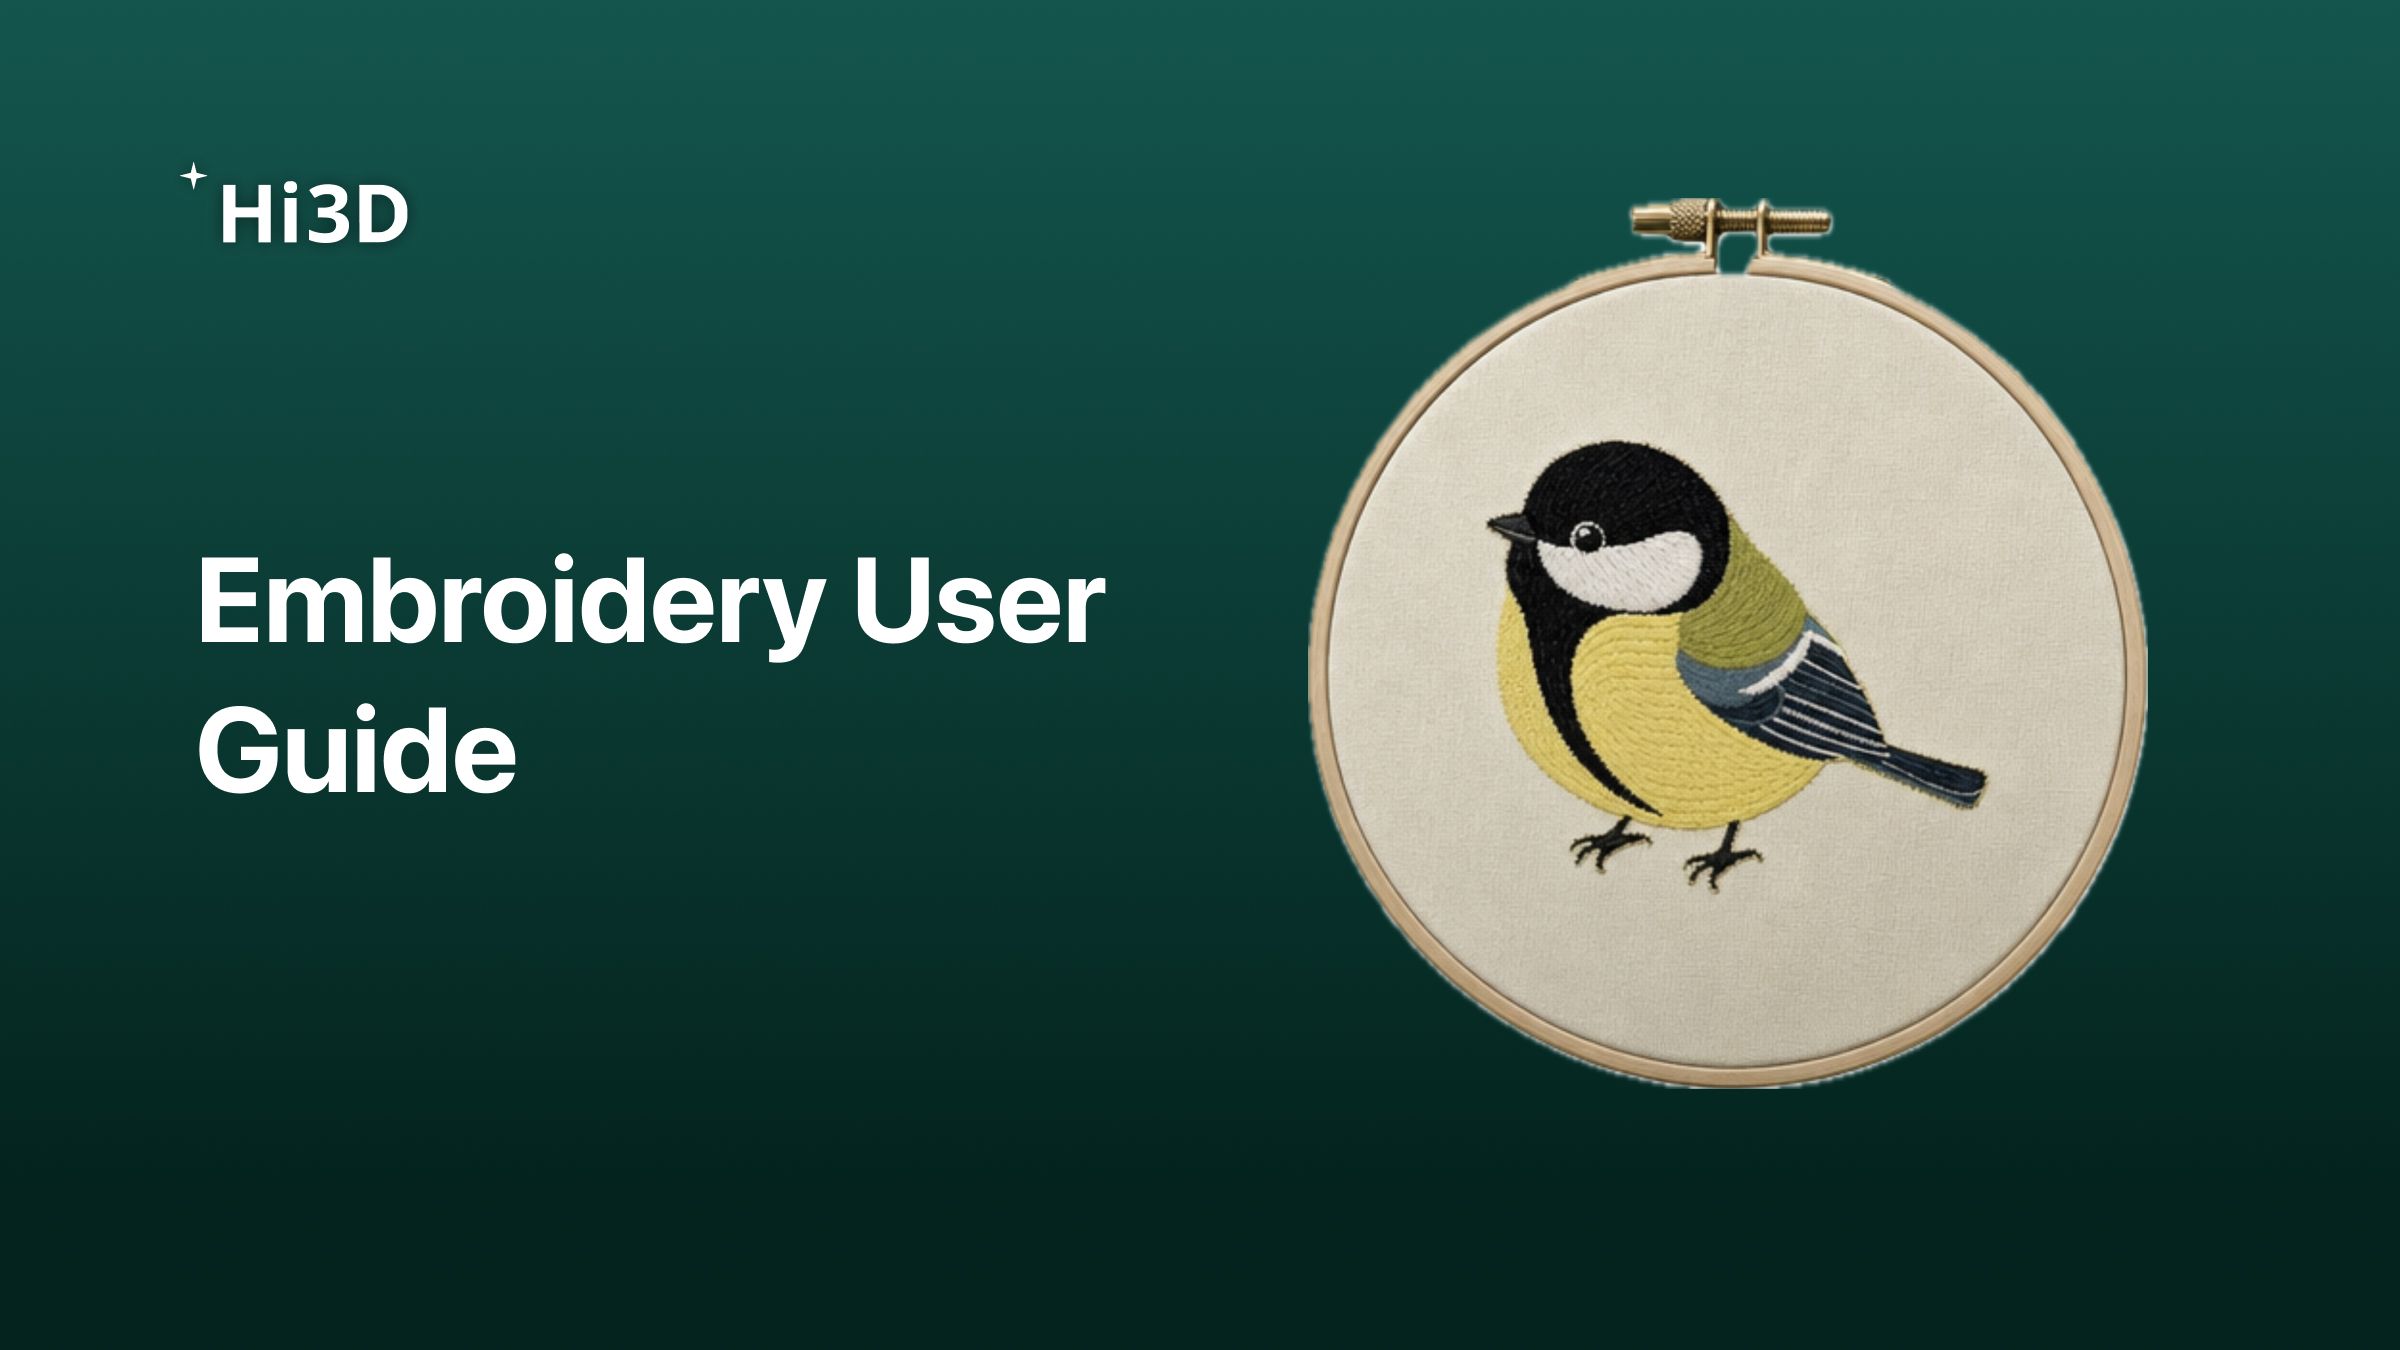
Turn the images you love into designs ready for an embroidery machine.
Hi3D Embroidery converts images into embroidery previews and exports DST embroidery files. Use it to create decorations for clothing, hats, and canvas bags, or to make original logos, team apparel, and personalized gifts.
Workflow: Upload an image → Set parameters → Generate and review the preview → Download the DST file → Make a test stitch-out.
What should you prepare before you start?
Prepare an image you would like to embroider. For your first attempt, choose a small flower, cartoon design, or simple logo with clear outlines, distinct color blocks, and minimal detail.
| Best for a first attempt | Simplify before using |
|---|---|
| Clear outlines, large solid-color areas, and a simple background | Complex backgrounds, photorealistic shading, and heavy gradients |
| An easily recognizable subject with relatively thick lines | Very thin lines, tiny text, and densely detailed floral patterns |
Create your first embroidery design
Step 1: Open the Embroidery feature
Go to Hi3D Embroidery, or select Embroidery in the workspace. If you are prompted to sign in, follow the on-screen instructions first.
Step 2: Upload an image
Upload the image you prepared in the Embroidery panel. Refer to the on-screen instructions for supported image formats and file-size limits.
Step 3: Set the three parameters
| Parameter | What does it control? |
|---|---|
| Finished width | How wide the embroidered design will be—not its on-screen display size |
| Number of colors | The maximum number of thread colors used |
| Stitch density | How closely the stitches cover the design |
For example:
Want to embroider a small flower about 8 cm wide on a canvas bag?
-
Set the finished width to 80 mm.
-
Start with the default number of colors and review the result. Increase it if important color areas blend together; reduce it if the colors are too fragmented.
-
Start with the default stitch density, then adjust it based on the preview and test stitch-out.
Step 4: Generate and review the preview
After setting the parameters, use the panel’s Generate button and wait for the result to appear.
After generation, check these three things:
-
Are the shapes clear? Check whether the main outline is intact and whether small text and thin lines remain legible.
-
Are the colors appropriate? Check whether important color areas were merged and whether there are too many fragmented colors.
-
Is the size correct? Confirm the displayed finished width, then review the stitch count and colors used.
📸 Click Play Embroidery Process to watch the stitches form step by step. This helps you understand the stitch path, but it cannot replace a physical test stitch-out.
If you are not satisfied, adjust the parameters and generate again. Change only one parameter at a time so it is easier to see which setting affected the result.
Step 5: Download the DST file
Once you have confirmed the preview, use the download option to export the DST file.
A DST file is a machine-embroidery file that contains instructions such as stitch data and color changes; it is not an ordinary image. After downloading it, review and use it with compatible embroidery software or an embroidery machine.
#How do you turn the download into a physical embroidery piece?
I have an embroidery machine ⬇️
| Step 1: Confirm compatibility | Confirm that your machine supports DST and that the design’s width and height fit within the available hoop. (If another format is required, convert the file with embroidery software.) |
|---|---|
| Step 2: Import and verify | Import the file according to your device’s requirements—using a USB drive, cable, or companion software—and check the size, orientation, and placement. |
| Step 3: Prepare materials | Prepare embroidery threads according to the design’s colors and color-change order, and install the bobbin thread. Choose a needle and stabilizer suitable for the fabric, then secure the fabric and stabilizer in the hoop. |
| Step 4: Check and test stitch | Use the machine’s outline check or positioning function to confirm the embroidery area. Then make a test stitch-out on a scrap of the same material, checking for puckering, thread buildup, show-through, or unclear details. |
| Step 5: Produce the final piece | Embroider the final piece only after the test stitch-out is satisfactory. Single-needle machines usually require manual thread changes as prompted; multi-needle machines require you to set up the correspondence between thread colors and needle positions in advance. |
I’m sending it to a production provider ⬇️
Send the provider the DST file, the original image or a preview screenshot, the target size, fabric type, and production quantity. First confirm that the file can be used, then arrange a test stitch-out.
You can communicate it like this:
I would like to embroider this design on a [canvas bag / garment / etc.]. The target width is [× mm], and the quantity is [× pieces]. The DST file and color-reference image are attached. Please first check machine compatibility, size, and stitches, then arrange a test stitch-out before confirming final production.
Frequently asked questions
1. What if the design is too fragmented or has too many colors?
Simplify the original image first, then try reducing the number of colors. When editing an existing image, you can use the following prompt:
Preserve the main subject and recognizability, and simplify the image into a color-block style. Use clear outlines and large solid-color areas, merge small fragmented colors, remove gradients, shadows, and overly thin lines, and keep the background simple.
2. What if small text or thin lines are hard to see?
Increase the finished size appropriately, or make the text and lines thicker; remove nonessential details where possible. Do not rely solely on increasing stitch density.
3. What if the colors on the machine do not match the preview? Is the file corrupted?
Not necessarily. DST files generally do not preserve exact thread colors. Check the actual embroidery threads against the reference image, and set the color-change order accordingly.
4. The preview looks good. Can I go straight to batch production?
A test stitch-out is recommended first. Fabric, embroidery thread, stabilizer, equipment, and production methods all affect the physical result. Complex designs may also require a professional to refine the stitch file.
Final checklist before production
- The design is clear, and small text and thin lines are legible.
- The finished dimensions meet expectations, and both width and height fit within the hoop.
- The machine supports the file format, and the actual thread colors and color-change order have been verified.
- A test stitch-out has been completed on the same material, and the result is approved.