Turning a portrait, logo, sketch, or illustration into a raised surface no longer requires hours of manual sculpting. A good Image to 3D Relief AI can estimate depth, build printable geometry, and export a file for 3D printing, CNC carving, mold making, or laser engraving. This guide compares seven tools that approach the job in different ways.
What Images Work Best for 3D Relief Generation?
The source image determines more than sharpness. An Image to 3D Relief AI must infer which areas sit in front, which recede, and where one surface ends. If that information is visually ambiguous, even a strong model may create a swollen face, merge hair into the background, or turn a cast shadow into unwanted geometry. Three checks prevent most failed conversions.
1. Use a Clear Subject and a Quiet Background
Choose an image with one obvious focal subject. A portrait against a plain wall, a dark logo on a light background, or an isolated ornament is easier to interpret than a crowded street photo. Strong subject-background separation gives the depth model a reliable silhouette and reduces accidental ridges around hair, clothing, or product edges.
For portraits, a three-quarter or near-frontal view usually reads better than an extreme side angle. Leave some space around the head instead of cropping through hair or shoulders. For logos and line art, remove compression artifacts and keep outlines closed. Both Hi3D and Tripo3D recommend high-contrast inputs with clear separation.
2. Prioritize Sharp Detail and Even Lighting
Resolution alone is not enough. The important features must be in focus, with visible contours at the final crop. Motion blur, heavy JPEG blocks, aggressive beauty filters, and tiny faces give the generator very little trustworthy structure. A clean smartphone photo can work well when the light is soft and the subject is sharp.
Avoid hard side lighting when possible. Deep shadows may be interpreted as deep recesses, while blown highlights can flatten the forehead, nose, lettering, or decorative texture. Even window light is a safer starting point. If you must use a dramatic image, test a softly corrected copy as well as the original and compare the preview before exporting.
3. Match the Image to the Manufacturing Method
A relief that looks dramatic on screen may be awkward to make. Fine wisps of hair and deep undercuts are risky for a small FDM print; shallow tonal changes may disappear under a CNC bit; and a laser workflow often needs a planar surface or depth map rather than a thick, watertight object.
Decide the physical size, minimum feature width, and desired depth before you convert image to 3D relief online. For 3D printing, use a solid model with a stable back plate. For CNC, a planar relief or height surface is often preferable. For molds, check whether the tool can invert the relief. A simple coin graphic and a detailed family portrait need different settings even when they start at the same pixel dimensions.
7 Best Image to 3D Relief AI
This is a research-based comparison of current official capabilities rather than a claimed hands-on benchmark. We weighed relief-specific controls, output and manufacturing readiness, ease of use, free access, price transparency, and the amount of work likely to remain after export. The tools are not identical: some create reliefs directly from images, BuildYour3D adds a printing service, and RELIEFMAKER starts from an existing 3D model. That distinction is central to choosing well.
| Tool | Ease of Use | Free Trial | Main Features | Current Price | Best For |
|---|---|---|---|---|---|
| Hi3D | Very easy | Yes. Free plan includes 100 lifetime credits; the official relief article says STL export is free | Image to 3D Relief AI, raised/recessed modes, base shapes, base removal, curvature, height and offset controls, STL/OBJ/GLB exports; broader image-to-3D, texturing, split-print and multicolor workflows | Free $0. Monthly: Pro $19.90, Max $39.90, Ultra $129.90; new-user first month shown at $9.90/$19.90 for Pro/Max. Annual promotion checked: Pro $95.52/year, Max $191.52/year, Ultra $623.52/year. API relief generation: $0.20 | Best overall; makers who want relief plus a wider AI 3D workflow |
| 3D AI Studio | Easy browser interface | Starter credits, no card. Subscriptions have a 7-day money-back guarantee | AI depth detection, depth/material controls, STL/OBJ relief export; image/text/multi-image to 3D, texturing, remesh, rigging, animation, format conversion | Monthly: Basic $19, Studio $29 (shown reduced from $39), Pro $149. Annual: $144/$276/$1,668. One-time credits: 2,000/$34; 5,000/$69; 35,000/$399 | Users who want many browser-based 3D utilities in one account |
| Meshy | Extremely easy | Yes—fully free relief tool. Unlimited generation and download, no watermark | Local browser processing, solid/planar modes, real-time depth, size and base controls, invert for molds, STL/OBJ export | Relief generator: free. Wider suite: Free $0; monthly Pro $20, Premium $40, Ultra $100; annual $192/$384/$960. Studio: $70/month plus $10 per extra seat, or first-year $672 then $840/year; Enterprise custom | Free private conversions, plaques, molds, CNC surfaces |
| BuildYour3D | Very easy configurator and live preview | Free preview; paid export/order | Photo upload, size/thickness/material/color controls, live 3D preview, STL delivery, optional finished print and shipping | STL file €4.49. Finished prints are quoted dynamically by dimensions, material, color, and quantity | Gift buyers and users who want a finished physical relief |
| VistaSculpt | Friendly visual editor, but Windows installation required | Yes. Demo allows two generations per 24 hours; demo exports are watermarked | Low/high relief, full 3D reconstruction, vector conversion, edge/shadow/flat-surface handling, sculpting brushes, CNC and depth-map formats | Hobby 1 month €29.99; Pro 3 months €129.99; Pro 12 months €299.99; lifetime Pro price on request | Windows users who need deeper editing and many export formats |
| Tripo3D | Easy online three-step flow | Yes. Free plan has 200 monthly credits | AI depth estimation, depth/detail/zero-plane sliders, real-time preview, watertight STL and OBJ; broader high-detail 3D, segmentation, texturing, rigging | Free $0. Pro $20/month or $240/year; Max $90/month or $1,080/year. Team: current first month $132 total for three seats, then $110/seat/month; annual $55/seat/month, billed $1,980/year for three seats. Credit packs: $10/1,000, $100/12,000, $500/62,000, $1,000/130,000 | Fast online reliefs and creators already using Tripo |
| RELIEFMAKER | Focused desktop workflow; requires a 3D source model | Yes. Seven days, no card; trial cannot export files | Converts OBJ/STL models from any view into raised or sunken reliefs; up to 16,384 × 16,384 output in Pro; STEP, mesh and depth-map exports | Basic $199 perpetual; Pro $399 perpetual; Relief Seller license by quote. Existing-version upgrades: Basic $49, Pro $80 | Coin, jewelry, mold, woodworking, and professional CNC workflows |
1. Hi3D: Best Overall Image to 3D Relief AI
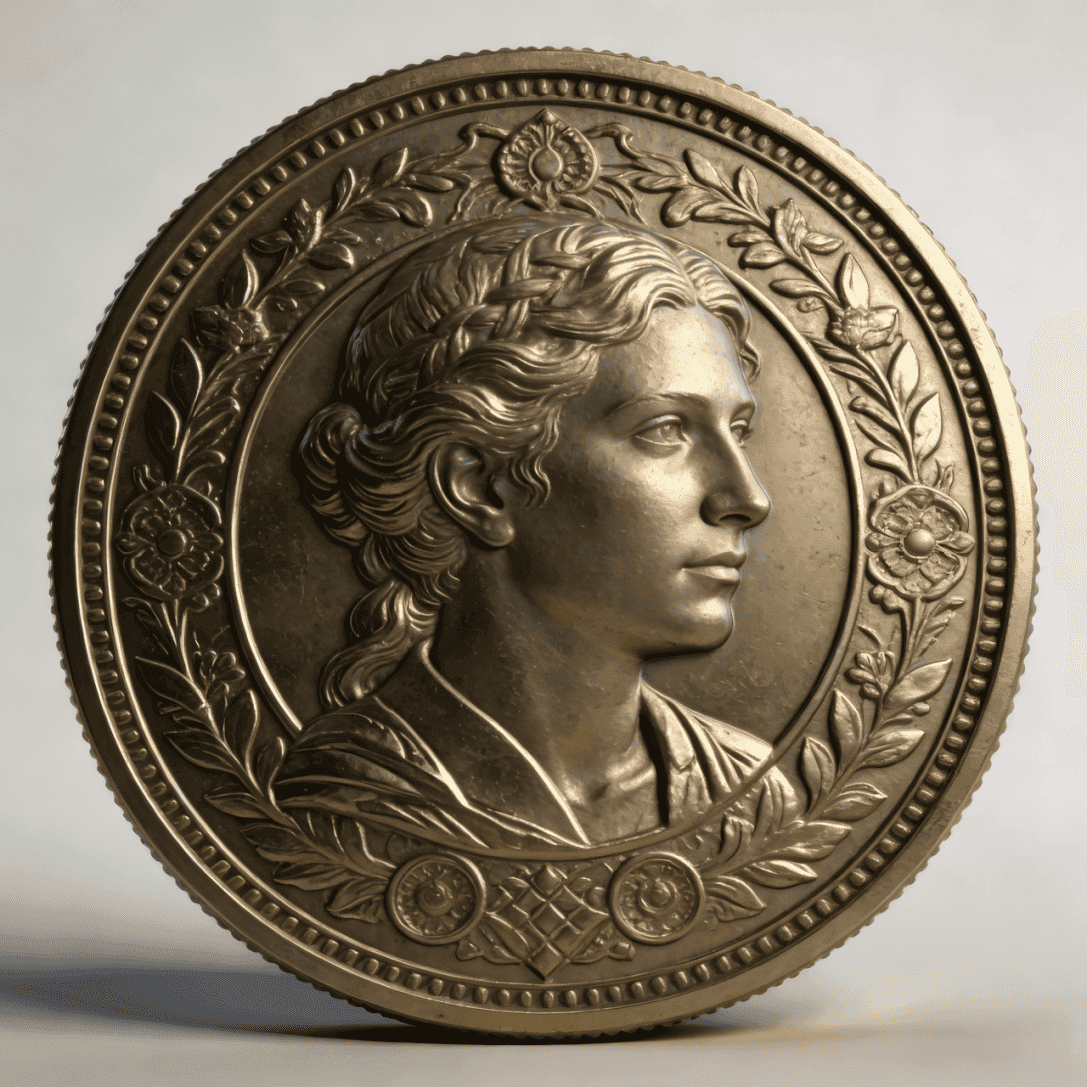
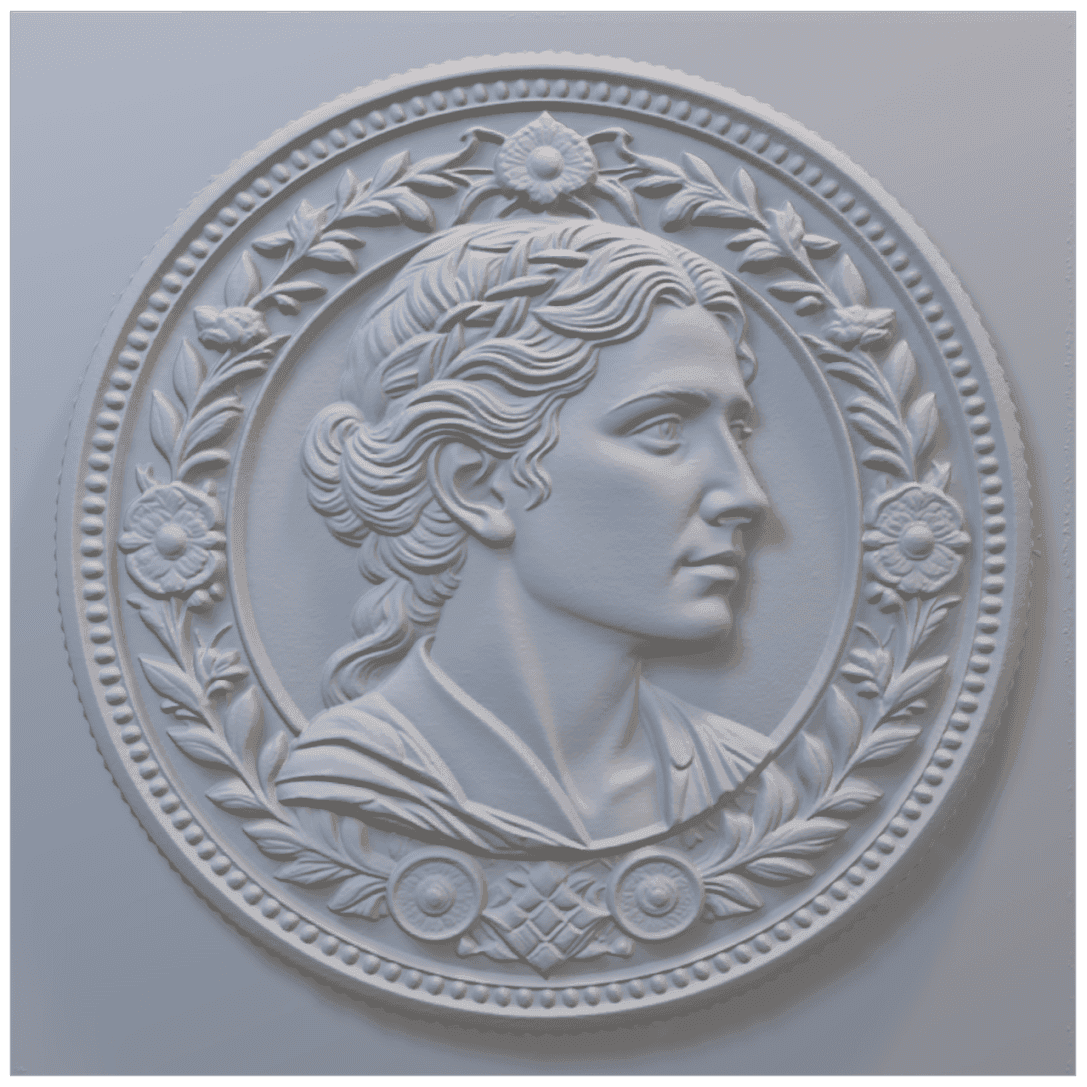
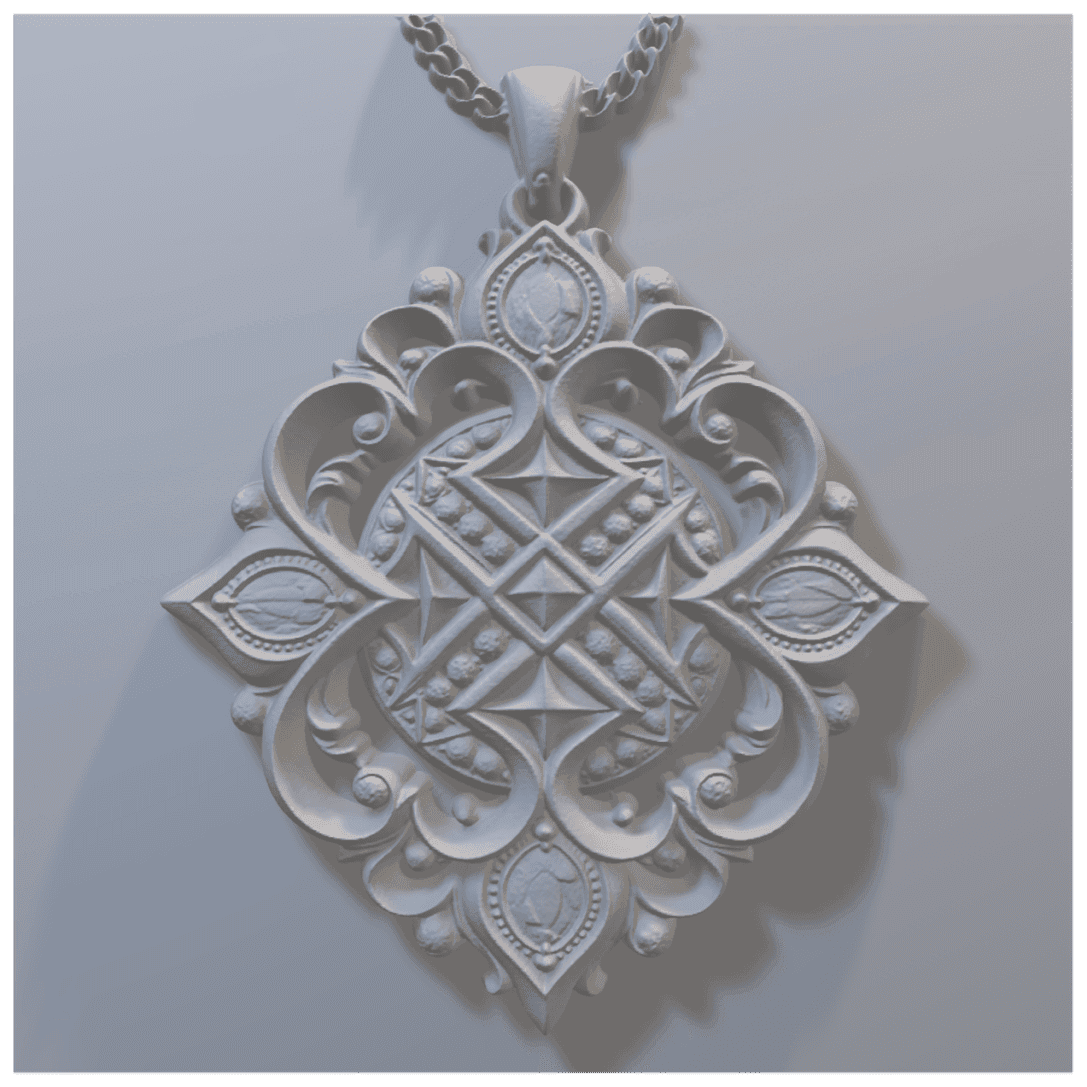
Hi3D is the strongest all-round option because relief generation is not isolated from the rest of the production workflow. Upload a JPG, PNG, or WebP of up to 20 MB, remove the background when needed, then tune depth, base shape, base removal, curvature, and raised or recessed engraving. The dedicated editor can output a closed STL for printing, while the wider platform also supports OBJ and GLB workflows.
That broader platform matters. The newer Hi3D v3.0 model is designed around geometry up to 2048³ voxel-level resolution, improved hidden-structure reasoning, and 8K texture capability. Those specifications apply to the Hi3D v3.0 full-model workflow rather than proving a particular relief resolution, but they make Hi3D attractive when a flat-backed relief is only one deliverable in a larger project. The platform also connects creation with texture work, printable-part splitting, multicolor preparation, and downstream exports.
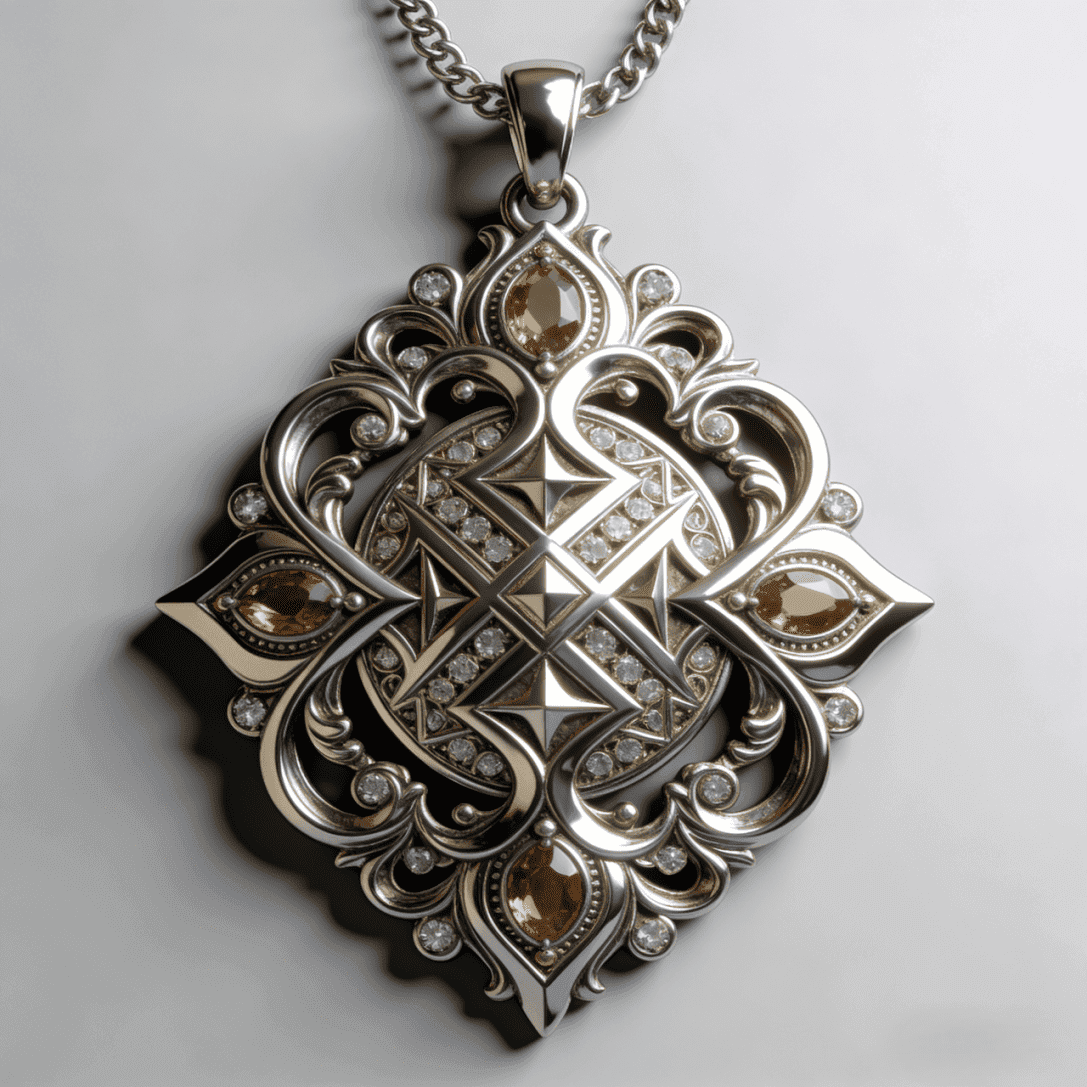
Hi3D is also unusually approachable for detailed relief work. A logo can become a rectangular plaque, a portrait can sit on a circular cameo base, and bend controls can wrap a design around an inward or outward curve. The official Hi3D relief guide says the editor creates closed, watertight STL geometry and offers free STL export. That combination of automation, meaningful controls, and production options is why Hi3D takes the top position here.
Pros:
- Dedicated relief controls cover base shape, curvature, height, offset, and raised or recessed output.
- Clean browser workflow suits beginners, while the broader platform gives experienced creators room to continue refining.
- Free registration and free STL export lower the cost of evaluating an actual print workflow.
- Broader AI 3D, texture, split-print, and multicolor tools reduce tool switching on more complex projects.
Cons:
- Promotional subscription prices and credit allowances can change, so cost planning requires a live pricing check.
- Ambiguous hair, shadows, or overlapping objects can still need a cleaner input or manual post-processing.
Recommended for:
- Beginners, Etsy-style product makers, 3D printing services, game artists, and experienced creators who want one platform from source image to usable 3D asset.
 |
 |
 |
 |
2. 3D AI Studio: Best All-in-One Browser Toolkit
3D AI Studio turns PNG, JPG, or WebP images into printable reliefs with AI depth detection, material and depth adjustment, and STL or OBJ export. Its real appeal is breadth: the same subscription covers image and text generation, multi-image reconstruction on higher plans, texturing, remeshing, rigging, animation, compression, and other utilities.
That makes it convenient for users who regularly move between asset tasks. It is less compelling if relief is the only job, because its pricing is built around a large toolbox and monthly credits. Starter credits let you inspect the workflow without a card, but the site does not present the dedicated relief page as an unlimited free utility.
Pros:
- Browser-based workflow avoids installation and GPU requirements.
- STL and OBJ exports cover common printing and editing routes.
- More than a relief generator: useful mesh, texture, animation, and format tools share one account.
- One-time credit packs offer an alternative to another recurring subscription.
Cons:
- Basic at $19 per month is expensive for an occasional single relief.
- The large tool catalog can feel busier than a dedicated image to relief converter.
- Credit costs vary by model and settings, which makes exact job cost less obvious.
Recommended for:
- Freelancers and small studios that need reliefs alongside general AI 3D asset production.
3. Meshy: Best Free and Private Browser Relief Generator
Meshy’s Relief Generator is the simplest answer to “Can I convert image to 3D relief online for free?” The tool runs locally in the browser: the official page states that the image, height field, mesh, and export stay on the user’s machine. It needs no account, credits, or watermark, and it allows unlimited STL and OBJ downloads.
Controls are practical rather than decorative. Solid mode adds a back plate for a watertight print; planar mode leaves the surface open for CNC or laser CAM; invert produces a mold; and the preview rebuilds while the depth, physical size, and base thickness change. Its weakness is also its strength: this is a height-field relief utility, not the deepest AI sculpting environment.
Pros:
- Truly free, unlimited, and usable without registration.
- Local browser processing is valuable for private portraits, client logos, and unreleased designs.
- Solid versus planar output makes the manufacturing destination explicit.
- Real millimeter dimensions and live rebuilding reduce export guesswork.
Cons:
- Fewer artistic controls than Hi3D for shaped bases, curved surfaces, and broader 3D development.
- Height-field logic can flatten forms or misread lighting in complex photographs.
- The paid Meshy plans mainly benefit the wider 3D suite, not this already-free relief tool.
Recommended for:
- Privacy-conscious makers, students, and anyone who needs an Image to 3D Relief AI free of accounts and export fees.
4. BuildYour3D: Best for Ordering a Finished Relief
BuildYour3D combines an online relief configurator with a fabrication service. Upload a photo, choose dimensions, thickness, material, color, and shape, inspect the live preview, then buy the STL or order a finished print. Circle, hexagon, and 360-degree cylinder formats make it especially suitable for gifts and display objects.
This is a purchase workflow rather than a broad AI studio. That simplicity is useful if you do not own a printer, but users who want topology editing, texture work, or several experimental exports will find it restrictive.
Pros:
- The live preview makes the purchase easy to understand before payment.
- STL-only and finished-print options serve both owners and non-owners of 3D printers.
- Size, material, color, thickness, and quantity are handled in one guided configurator.
- A €4.49 STL is inexpensive for a one-off conversion.
Cons:
- Free access stops at preview; the downloadable file costs money.
- Finished-print pricing is not fixed until dimensions and materials are selected.
- Relief editing and export options are much narrower than creator-focused platforms.
Recommended for:
- Gift shoppers, families, and small businesses that want a ready-to-print STL or delivered physical piece.
5. VistaSculpt: Best Windows Desktop Relief Editor
VistaSculpt is a Windows application that combines Image to 3D Relief AI, complete 3D reconstruction, 2D vector conversion, image enhancement, and sculpting tools. Its relief system emphasizes boundary detection, shadow handling, and flat-surface detection—useful when a source image contains frames, uneven lighting, or broad areas that should remain level.
The export list is extensive, including STL, GLB, OBJ, PLY, 3MF, DAE, depth maps, normal maps, SVG, and DXF. This makes VistaSculpt more flexible than a small web converter, but it also introduces installation, licensing, and a Windows-only limitation. The demo is suitable for inspection, although watermarked exports prevent it from functioning as a free production tool.
Pros:
- Strong mix of automatic relief generation and hands-on editing tools.
- Wide format support fits CNC, 3D printing, laser, vector, and CG workflows.
- Edge, shadow, and flat-surface handling address common photo-to-relief problems.
- Pro licenses include advanced editing and unlimited exports.
Cons:
- Windows only; macOS and Linux users need another tool.
- Single-machine licensing is less flexible for people who move between workstations.
- The short Hobby plan costs €29.99, and the useful Pro tiers are considerably more expensive.
- Demo exports are watermarked, and generation allowances are limited.
Recommended for:
- Windows-based CNC artists, engravers, and makers who want desktop editing after automatic conversion.
6. Tripo: Best for Adjustable Online Relief Settings
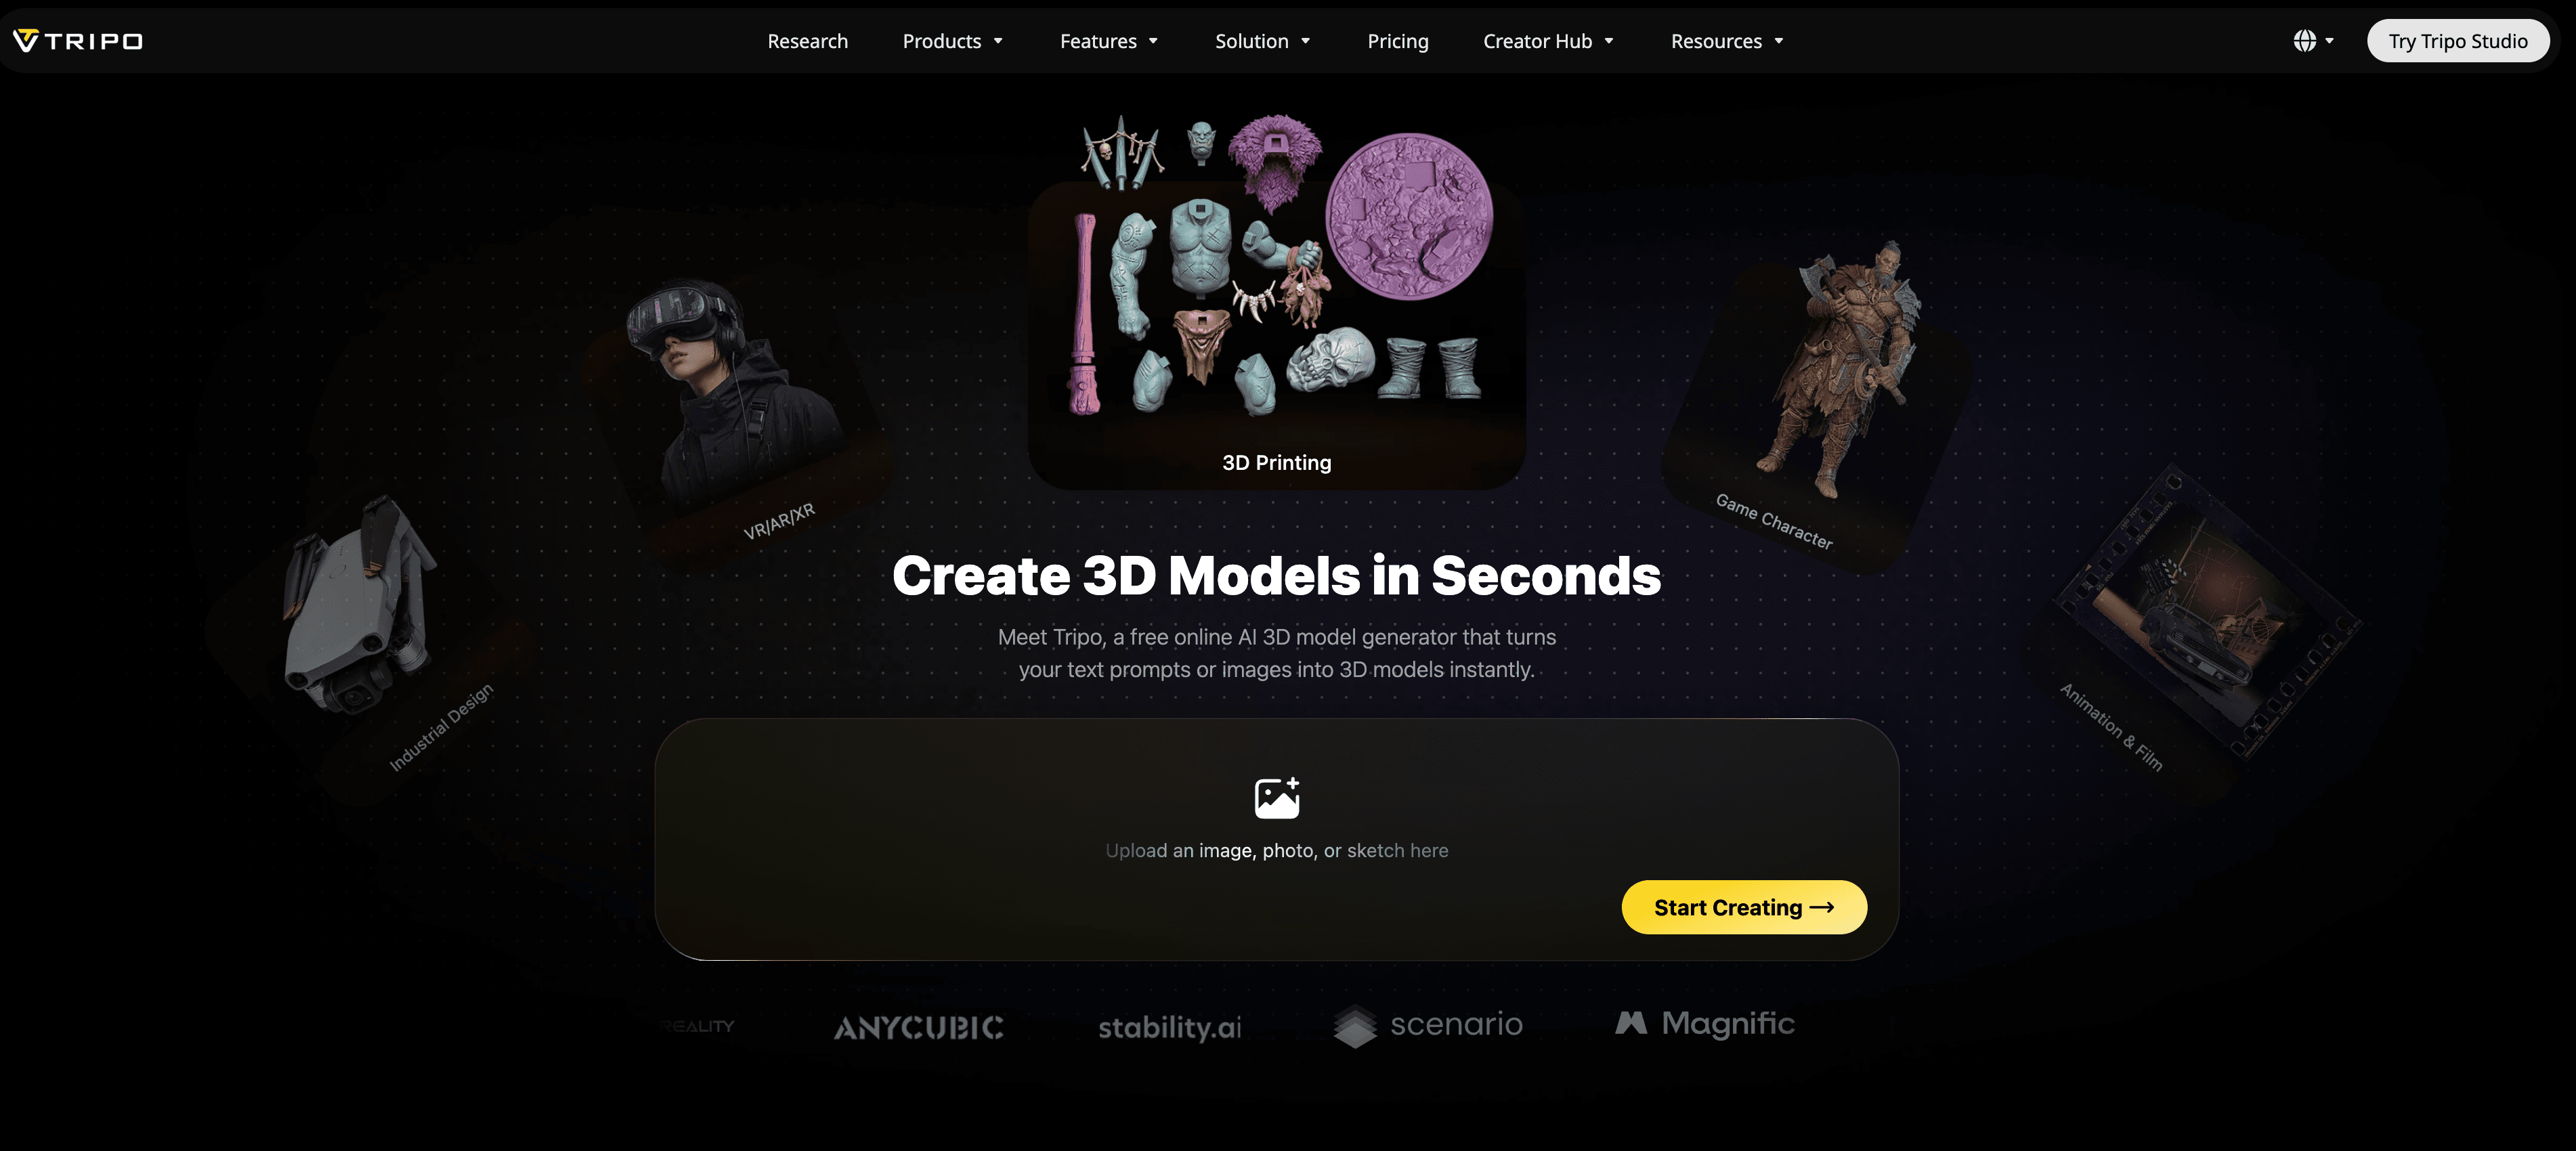
Tripo offers a direct three-step workflow: upload a PNG, JPG, or WebP, adjust depth intensity, detail, and zero-plane height, then export STL or OBJ. The preview updates in real time, and Tripo says its STL output is watertight for CNC, laser, FDM, and resin workflows.
The relief interface is easy to learn, while the wider Tripo platform supplies multi-view generation, smart mesh options, segmentation, texture editing, rigging, and DCC bridges. The free 200-credit allowance is useful for exploration, but commercial privacy and higher-end features sit in paid plans.
Pros:
- Clear sliders expose the three settings most beginners need.
- STL and OBJ cover both production and continued editing.
- Free monthly credits provide a low-risk entry into the wider platform.
- Paid plans add strong general 3D production and integration features.
Cons:
- Free-plan models are public and non-commercial according to the pricing page.
- At $20 and $90 per month, paid plans are hard to justify for occasional relief-only work.
- The free tier limits history, storage, exports, and access to advanced tools.
Recommended for:
- Creators who want a simple relief generator and already expect to use Tripo’s broader AI 3D ecosystem.
7. RELIEFMAKER: Best for Manufacturing Reliefs from Existing 3D Models
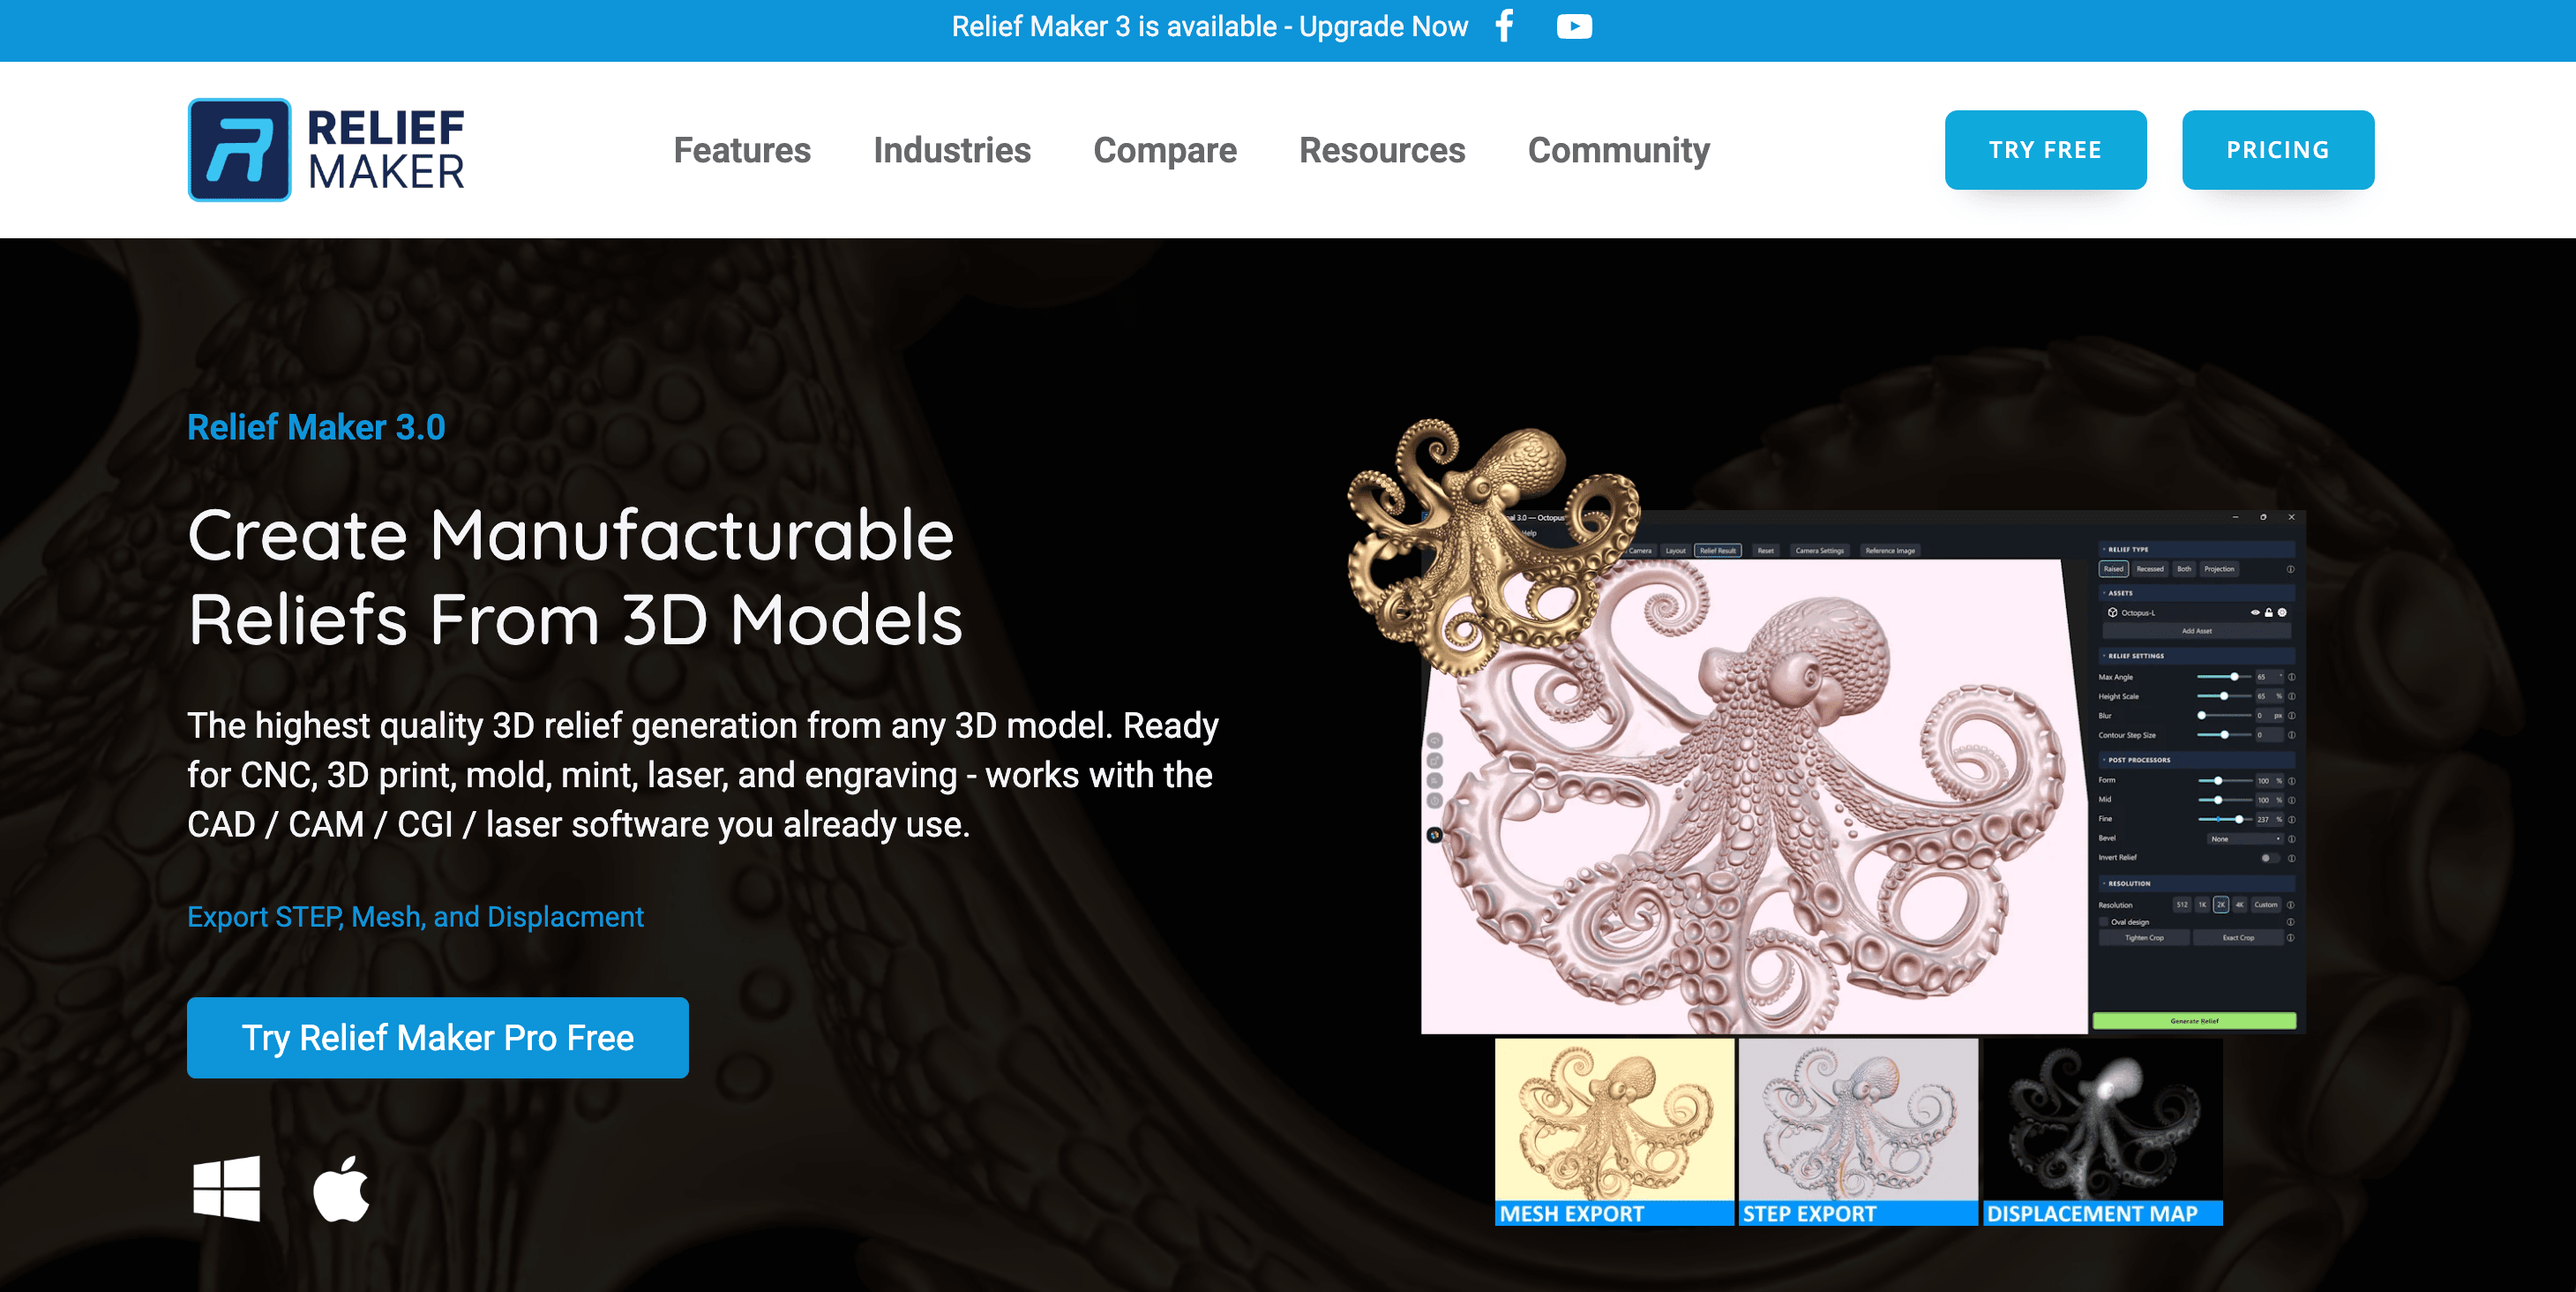
RELIEFMAKER belongs in this comparison with an important warning: it does not directly convert a flat photo into a relief. It imports an existing OBJ or STL model, lets the user choose an angle, compresses that view into raised, shallow, mid, or sunken relief geometry, and exports formats such as STEP, OBJ, STL, PNG, EXR, and PFM.
That approach can outperform photo depth estimation when a reliable 3D source already exists. Pro supports multiple models and output up to 16,384 × 16,384, making it relevant to coins, jewelry, molds, signs, and demanding CNC work. For an image-only job, however, you first need a separate Image to 3D Relief AI or full 3D generator.
Pros:
- Manufacturing-centered controls and overhang-free relief output suit professional production.
- Reliefs can be generated from any chosen model angle.
- Pro offers very high-resolution output and STEP/depth-map options.
- Perpetual pricing avoids another monthly subscription.
Cons:
- Not a direct image-to-relief tool; an OBJ or STL source is required.
- The $199 Basic and $399 Pro prices are high for hobby experimentation.
- The seven-day trial disables file export, limiting real downstream validation.
- Selling or distributing digital relief outputs requires a separate Relief Seller license.
Recommended for:
- Coin designers, jewelers, mold makers, woodworkers, and CNC shops that already have 3D models and need controlled manufacturing reliefs.
How to Use Hi3D to Turn an Image into a 3D Relief
Hi3D keeps the first conversion short. The following three steps cover the essential path; exact labels can vary between the dedicated Relief editor and the broader Image to 3D workspace.
1. Upload Your Image
Open the Hi3D relief page, click Try for free, and enter the workspace.
2. Choose the Right Parameters
Then, go to the workspace and select the “Relief” tool from the left-hand menu. Upload the image you want to process. Hi3D accepts JPG, PNG, and WebP files up to 20 MB. A sharp subject against a quiet, clearly separated background gives the depth model the best chance of producing clean contours.
3. Download the Model
After generation finishes, rotate the preview and inspect silhouettes, eyes, lettering, thin borders, and the back plate. Export the STL for slicing or manufacturing; use OBJ or GLB when the selected workflow offers them and further editing is planned. Open the file in your slicer or CAM software, verify scale and watertightness, and only then begin fabrication.
Conclusion
The best Image to 3D Relief AI depends on what must happen after conversion. Hi3D is the best overall choice because it combines an approachable, relief-specific editor with credible paths into broader AI 3D creation, texture, printing, and export workflows. Meshy is the standout free utility, especially when private local-browser processing matters. BuildYour3D is the easiest route to a physical object, while VistaSculpt and RELIEFMAKER serve users who need deeper desktop or manufacturing control.
For most readers, the sensible first move is to register and try Hi3D for free with one clean, high-contrast image. Generate a moderate-depth version, inspect it in a slicer, and adjust the source or relief settings before paying for a larger production workflow.