Why Your Print Failed at 80% — Even With “Correct” Settings
You sliced the model, loaded fresh filament, and started printing. Six hours later, the dragon’s wings collapsed, the helmet detached from the bed, or the miniature’s face was destroyed by support marks.
At first, it feels like a printer problem.
But in many cases, the real mistake happened before slicing: the model was placed the wrong way.
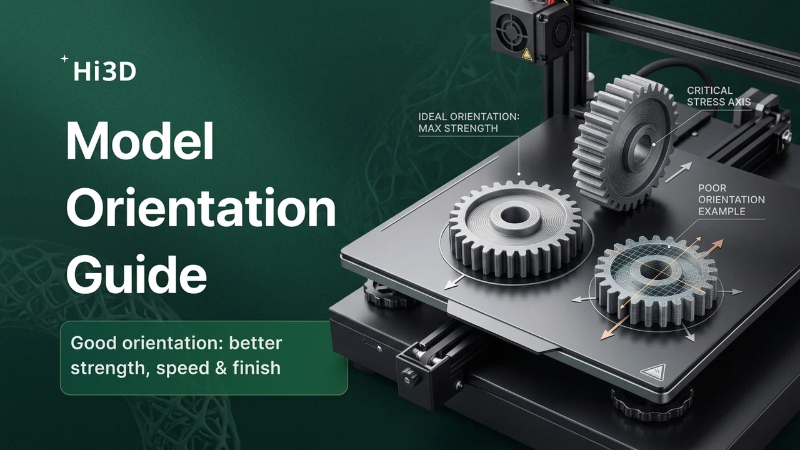
In FDM printing, orientation and support settings determine:
- How strong the part is
- How clean the surface looks
- Whether supports damage the model
- How likely the print is to fail
- How much time and material the print consumes
Good placement can turn a risky print into an easy one. Bad placement can ruin a perfect slicer profile.
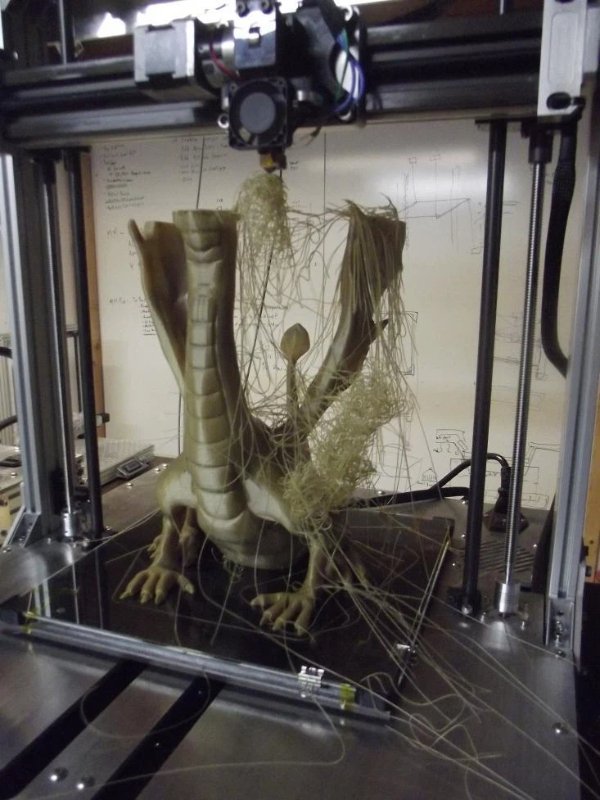
Scenario #1: The Dragon That Collapsed Overnight
A common beginner mistake is printing decorative models exactly as they appear in the STL preview.
Take a dragon miniature with large wings. Standing it upright looks natural on screen, but it creates huge unsupported overhangs underneath the wings.
What happens during printing:
- Each wing becomes a long horizontal bridge.
- The slicer generates dense supports underneath.
- The supports wobble during printing.
- After several hours, one support fails.
- The wing collapses, and the print is ruined at 80% completion.
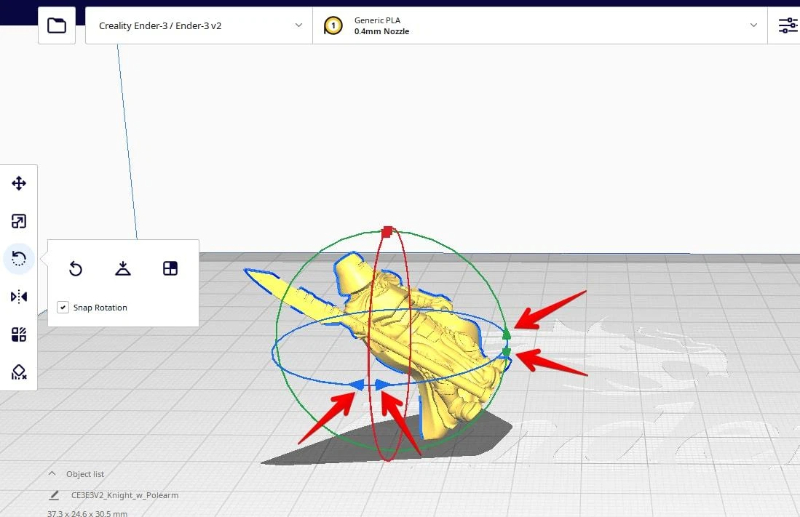
The Better Orientation
Instead of printing the dragon upright:
- Tilt the model 30–45° backward.
- Angle the wings so overhangs are reduced.
- Use tree supports instead of standard grid supports.
- Place visible surfaces away from support contact points.
This simple rotation often:
- reduces support material,
- improves surface quality,
- and makes the print far more stable.
The key lesson: don’t orient models for how they look on screen—orient them for how gravity affects them during printing.
Scenario #2: The Functional Hook That Snapped
Now imagine printing a wall hook or tool holder.
Many users place the hook flat on the bed because it prints quickly and needs no supports. The print finishes perfectly, but the first time it holds weight, it snaps.
Why?
Because FDM parts are weakest between layers. When the load pulls perpendicular to the layer lines, the part can split apart.
The Better Orientation
Rotate the hook so the layer lines run along the direction of force.
This may require supports, but it dramatically increases strength.
In practical terms:
- Flat orientation: cleaner print, weaker part.
- Upright orientation: more supports, much stronger part.
For functional prints, strength matters more than support convenience.
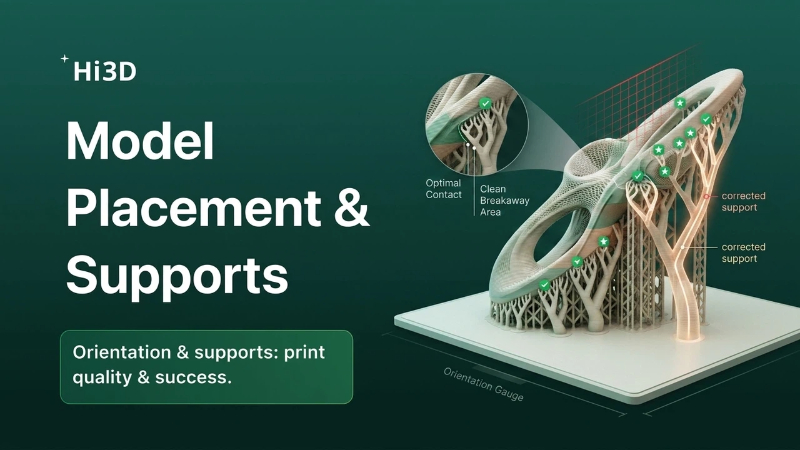
Choosing the Right Support Type
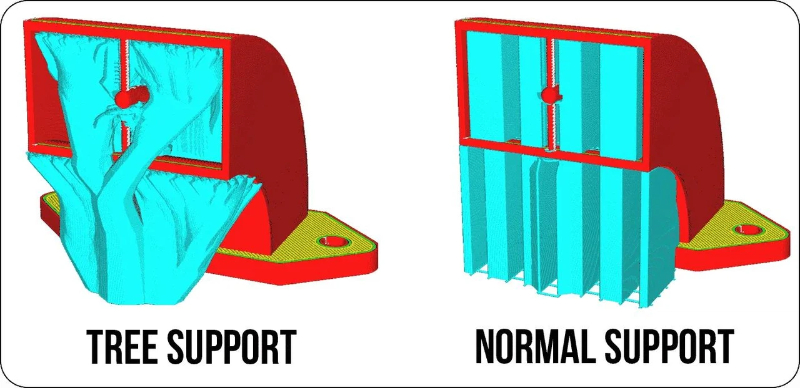
Supports are necessary whenever an overhang exceeds what your printer can bridge reliably. But not all supports behave the same way.
Standard Supports
Best for:
- Mechanical parts
- Large flat overhangs
- Heavy structures
Pros: - Strong and stable
- Reliable for functional prints
Cons: - Use more material
- Leave larger contact scars
- Harder to remove from detailed models
Tree Supports
Best for:
- Miniatures
- Organic shapes
- Characters and statues
- Complex decorative models
Pros: - Use less material
- Touch the model at fewer points
- Remove more cleanly from detailed surfaces
Cons: - Less stable for very heavy overhangs
- Can fail if branches become too thin
A Simple Rule of Thumb - Decorative models → Tree supports
- Functional parts → Standard supports
- Large heavy overhangs → Standard supports
- Faces, armor, organic details → Tree supports
How to Reduce Support Scars
Support marks are one of the biggest frustrations in FDM printing, especially on character models and cosplay props.
Here’s how to minimize them:
1. Rotate Visible Surfaces Away From Supports
If a helmet’s front face is visible, avoid placing supports there. Put supports on the back or underside whenever possible.
2. Increase Support Interface Quality
Most slicers allow a denser support interface layer. This creates a smoother surface where supports touch the model.
3. Adjust Support Z Distance
A slightly larger gap between support and model makes removal easier, though too much gap can reduce support effectiveness.
Typical starting points:
- PLA: 0.20 mm
- PETG: 0.25–0.30 mm
4. Remove Supports the Right Way
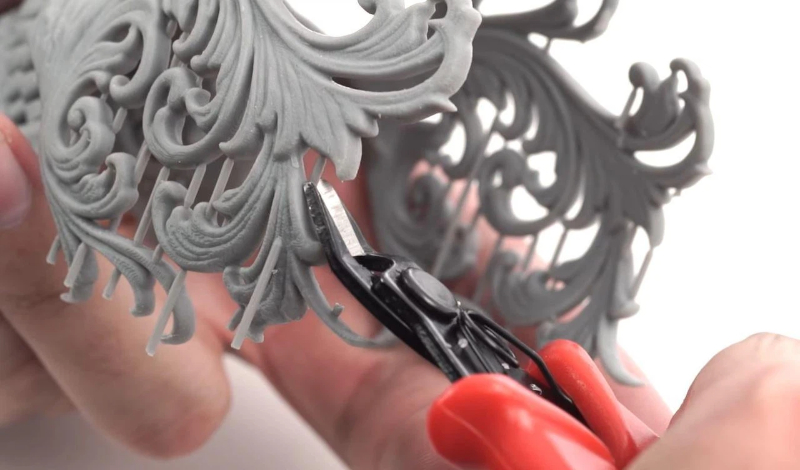
Don’t rip supports off by hand.
Use:
- flush cutters,
- needle-nose pliers,
- and gentle twisting motions.
After removal, lightly sand the contact areas for a cleaner finish.
The “Support Less” Mindset
A common beginner habit is enabling supports everywhere “just to be safe.”
This often creates:
- longer print times,
- more material waste,
- harder post-processing,
- and worse surface quality.
Instead, aim for:
“Use the minimum supports needed for a successful print.”
Sometimes a small model rotation removes half the supports automatically.
Final Thoughts
Before changing temperatures, retraction, or speed, ask yourself one question:
“Is this model oriented in the best possible way?”
In FDM printing, orientation is often more important than slicer tweaks. A smart rotation can:
- prevent print failures,
- reduce supports,
- improve strength,
- shorten print time,
- and produce cleaner surfaces.
Mastering model placement and support strategy is one of the fastest ways to improve your printing results without buying any new hardware.