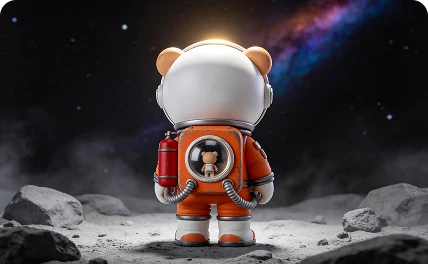


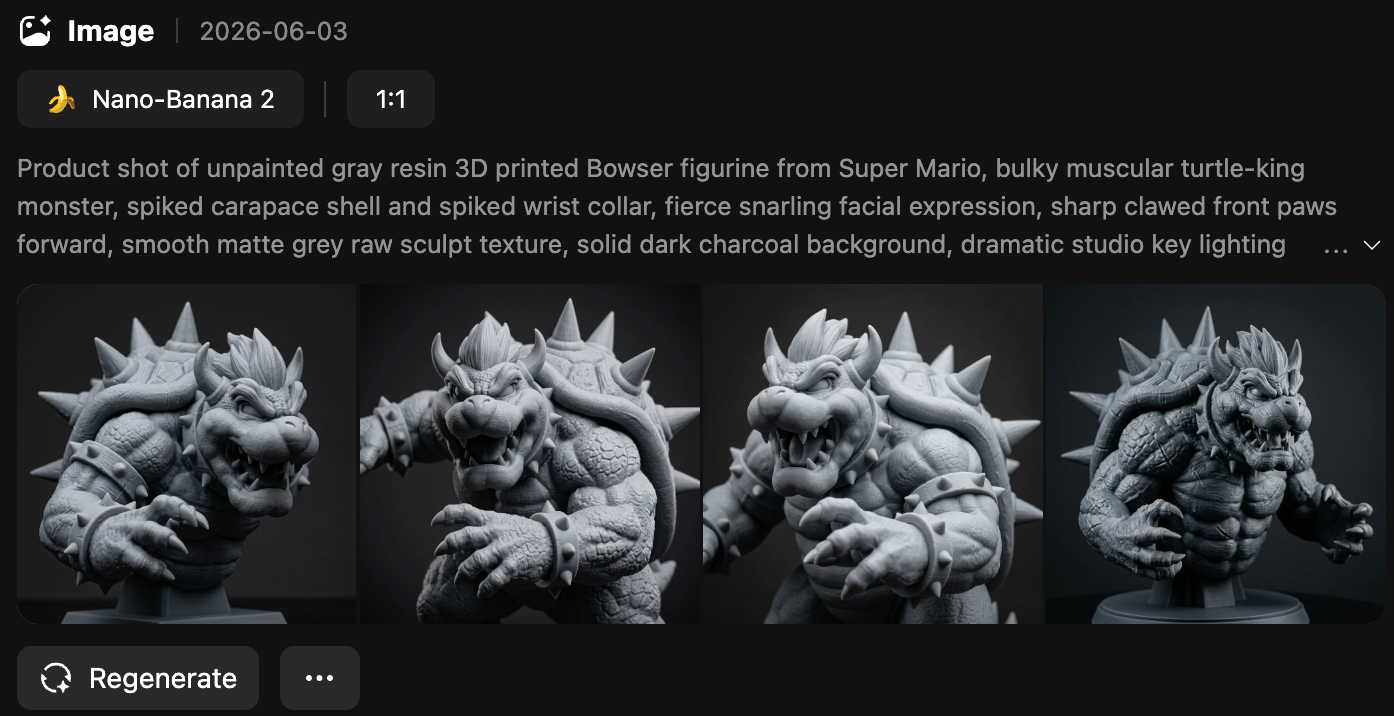
AI Generation Is Only the Beginning
AI can help you create shapes, concepts, and visuals much faster than traditional modeling from scratch. But a model that looks great on screen is not automatically ready for real production. A design may still need adjustments before it becomes a printable part, a laser-ready artwork file, or a cutter-friendly graphic.
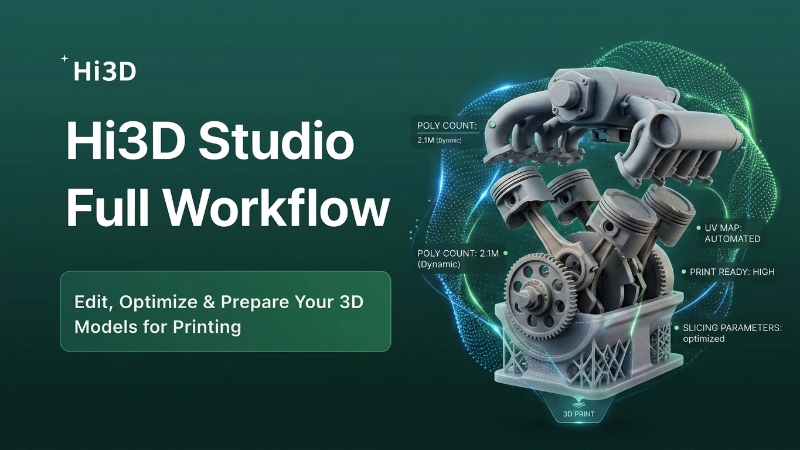
That is why a complete workflow matters.
Hi3D is most useful when you treat it as part of a larger fabrication pipeline: idea input, design generation, manufacturability checks, file export, production preparation, testing, and iteration.
Step 1: Define the Final Outcome First
Before you generate anything, decide what the final object should be.
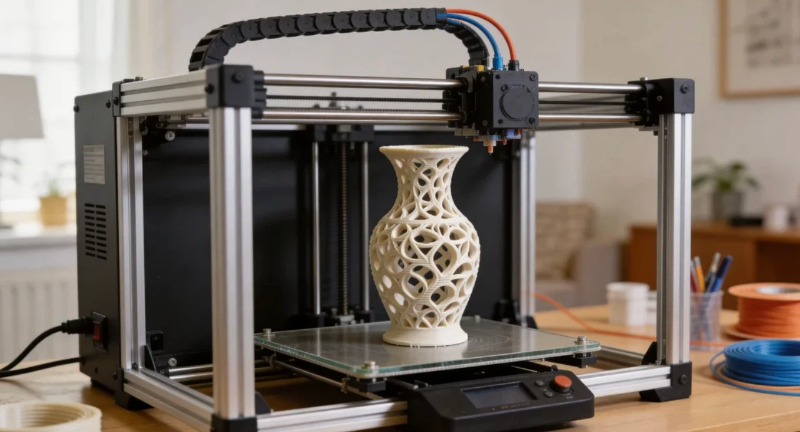
- If you want a figurine, bracket, enclosure, or product prototype, you are probably heading toward FDM 3D printing.
- If you want a sign, tag, coaster, decorative panel, or engraved surface, laser cutting or laser engraving may be the better fit.
- If you want stickers, labels, packaging graphics, paper crafts, or HTV patterns, blade cutting or vinyl cutting makes more sense.
This single decision changes how you should prompt the AI. A design that works well for 3D printing is not the same as a design optimized for engraving or contour cutting.
Step 2: Input a Prompt, Image, or Sketch
Hi3D works well with multiple types of creative input:
- text prompts for ideas that start from imagination
- reference images for logos, pet portraits, icons, and visual inspiration
- rough sketches for product concepts and maker drafts
The best prompts do not just describe what the object looks like. They describe what the object is for.
For example, instead of saying a dragon, say:
- a dragon desk ornament with a flat base for FDM 3D printing
- a dragon line-art design for laser engraving on wood
- a cute dragon sticker with a clean contour and weed-friendly outline
The more fabrication-aware the prompt is, the closer the result gets to practical use.

Step 3: Generate Multiple Directions
One of the biggest advantages of AI-assisted design is speed. You can quickly explore several directions before committing to fabrication.
That is useful for:
- choosing between cute, minimal, mechanical, or realistic styles
- testing shapes for 3D print stability
- comparing engraving-friendly compositions
- finding silhouettes that work better for stickers and blade cutting
- building product lines with a consistent visual language
Do not choose only by aesthetics. Ask practical questions too:
- Is the base stable?
- Are the details too thin?
- Is the silhouette readable?
- Will this be easy to export and refine?
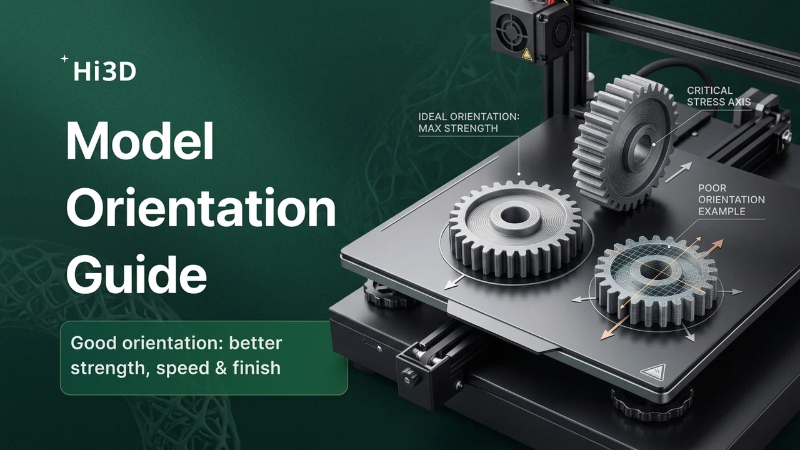
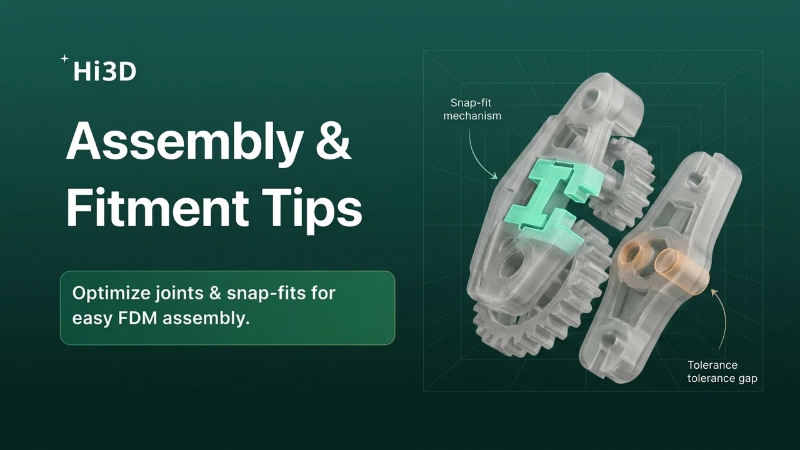
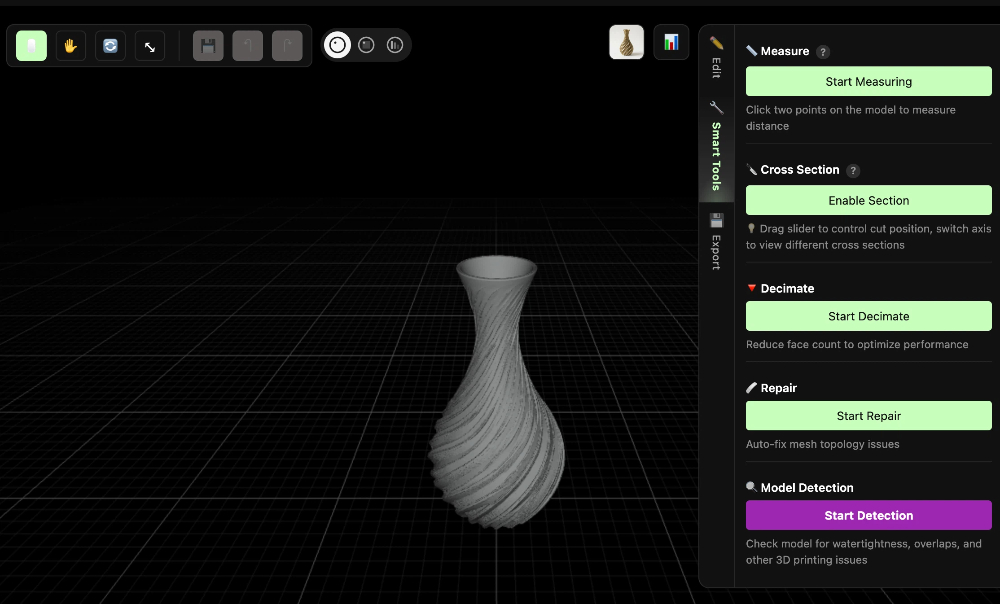
Step 4: Check Manufacturability
This is where many beginner projects succeed or fail.
For FDM 3D printing, check:
- wall thickness
- overhangs and bridges
- base contact area
- fragile details
- manifold geometry
For laser workflows, check:
- whether contours are clear enough
- whether the design can be separated into cut and engrave regions
- whether the detail density is realistic for the material
- whether the visual composition can become vector or grayscale artwork
For blade cutting, check:
- whether the contour is clean
- whether the design is easy to weed
- whether small islands and sharp corners are manageable
- whether white borders or bleed areas are needed
Hi3D helps by giving you a stronger starting point and, in some workflows, manufacturability support such as printable model checks and repair features. But the mindset still matters: every project should be evaluated against the machine that will make it.
Step 5: Export the Right File Type
The best design can still fail if you export the wrong format.
For makers, here is a simple rule of thumb:
- STL or 3MF for many 3D printing workflows
- OBJ when you want broader 3D editing flexibility or texture-related workflows
- SVG or DXF for laser and cut-path workflows
- PNG or PDF when visual layout support is needed alongside production prep
Always think about the next software in the chain. The export format should match the tool you will use after Hi3D.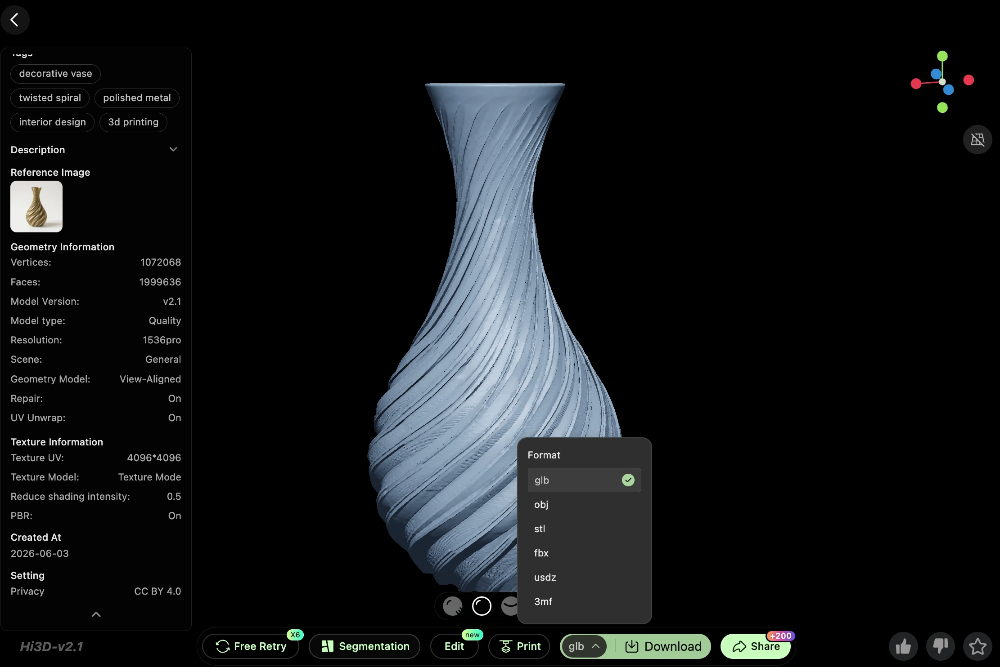
Step 6: Move into Production Software
Hi3D prepares the creative asset. Your fabrication software handles the machine-specific execution.
For FDM, that usually means a slicer where you adjust:
- layer height
- infill
- wall settings
- support strategy
- temperature and speed
For laser, that means setting:
- power
- speed
- engraving order
- cut layers
- material-specific parameters
For blade cutting, that means defining:
- blade force or pressure
- speed
- contour logic
- kiss-cut vs full-cut settings
- layout efficiency
A better file going into this stage means less cleanup, fewer errors, and a more reliable first test.

Step 7: Test, Make, and Iterate
No serious maker workflow ends with the first export. Real production always teaches you something.
You may discover that:
- a model needs thicker features
- an engraved image needs better contrast
- a sticker outline needs a larger border
- a sign needs less visual clutter
- a cut path needs simplification for cleaner production
The advantage of AI plus digital fabrication is that iteration becomes much faster. You can return to Hi3D, revise the concept, generate another direction, and test again with less effort than traditional start-from-zero workflows.
Why This Workflow Is Powerful for Makers
This workflow is especially effective for:
- makers building personal projects
- AI creators turning digital ideas into products
- 3D print hobbyists exploring concept generation
- laser engraving users creating custom items
- vinyl cutter users building stickers and branded merch
- educators teaching beginner-friendly fabrication thinking
Instead of forcing yourself to master everything before starting, you build skill through a repeatable workflow.
Final Takeaway
Hi3D is not the final manufacturing step. It is the smart front end of a real fabrication process.
It helps you move from:
- idea to concept
- concept to manufacturable design
- manufacturable design to machine-ready file
- machine-ready file to physical result
If you want to use AI for real-world making, that is the mindset to adopt. Do not stop at “the model looks good.” Ask the more useful question: Can this become a successful real object?
That shift is what turns AI generation into a true maker workflow.