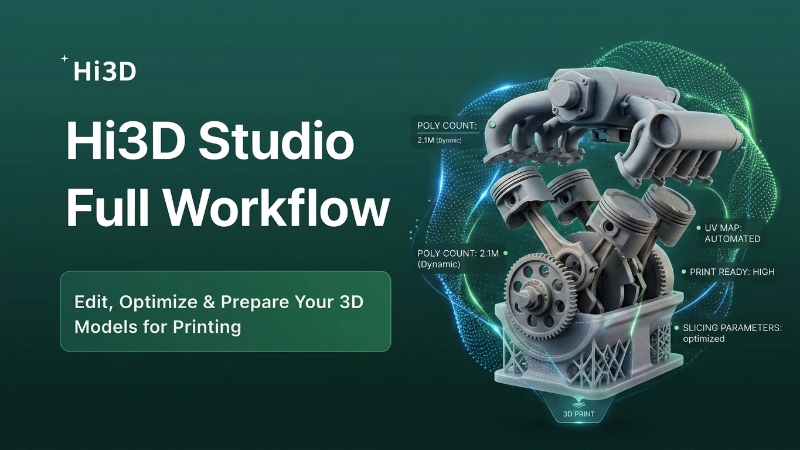


Why Safety Starts Before the Machine Turns On
Many beginners think safety only matters once a machine starts moving. In reality, safety begins much earlier—at the design stage.
A model with a tiny base may fail and detach during 3D printing. A laser engraving design with overly dense paths may overheat material. A vinyl or blade-cut graphic with fragile details may pull, tear, or force the blade into unstable cuts.
That is why a safer maker workflow does not begin with the power switch. It begins with better choices in design, structure, material, and file preparation.
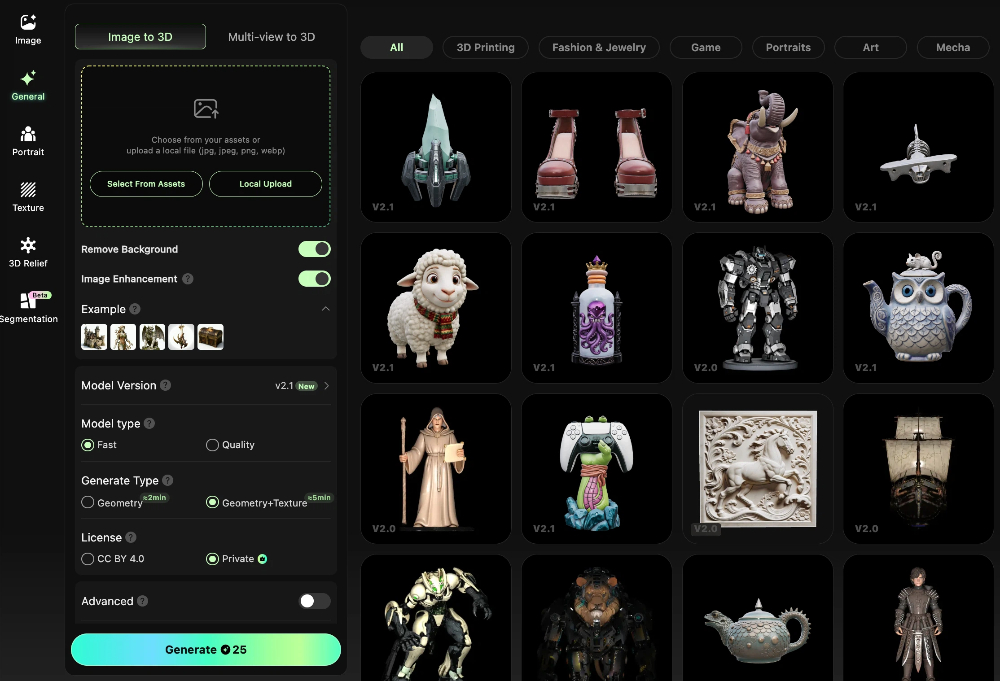
Hi3D helps creators move from ideas to manufacturable assets, but the best results come when design quality and safety awareness work together.
Safety Mindset for New Makers
If this is your first time using fabrication equipment, the smartest approach is not to start with the most complex project. Start with a low-risk project, learn the machine behavior, and build confidence step by step.
Good beginner projects are usually:
- small in size
- simple in structure
- made from common beginner-friendly materials
- quick to test
- inexpensive to remake if something goes wrong
This applies whether you are using an FDM 3D printer, a laser cutter, a laser engraver, or a blade cutter.
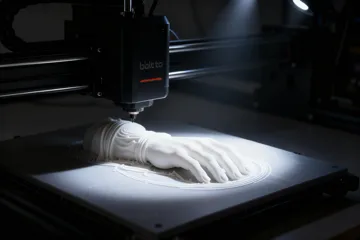
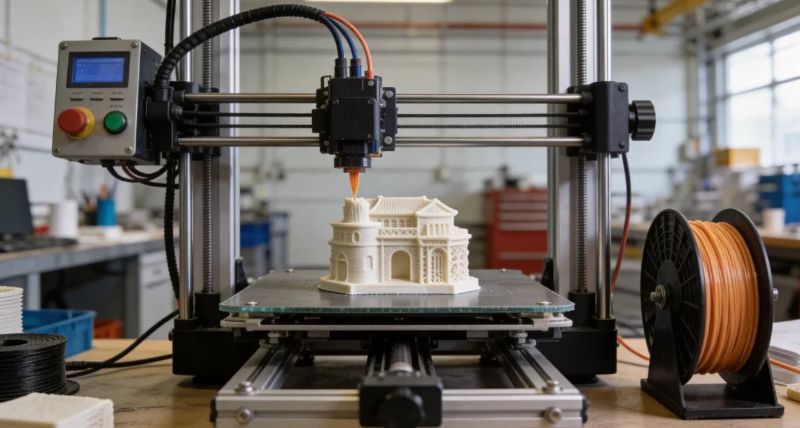
FDM 3D Printing Safety Tips
FDM 3D printing involves high temperatures, moving parts, and heated plastic.
The nozzle and heated bed can become hot enough to cause burns. During printing, the print head and mechanical system are also moving continuously. Reaching into the machine while it is running is a bad habit and can cause both injury and print failure.
Key FDM safety tips:
- Do not touch the nozzle or heated bed during or just after printing.
- Keep hands away from moving parts while the printer is running.
- Use the printer in a ventilated area.
- Be extra cautious with materials that produce more noticeable fumes than PLA.
- Do not leave risky prints completely unattended if the setup is unstable.
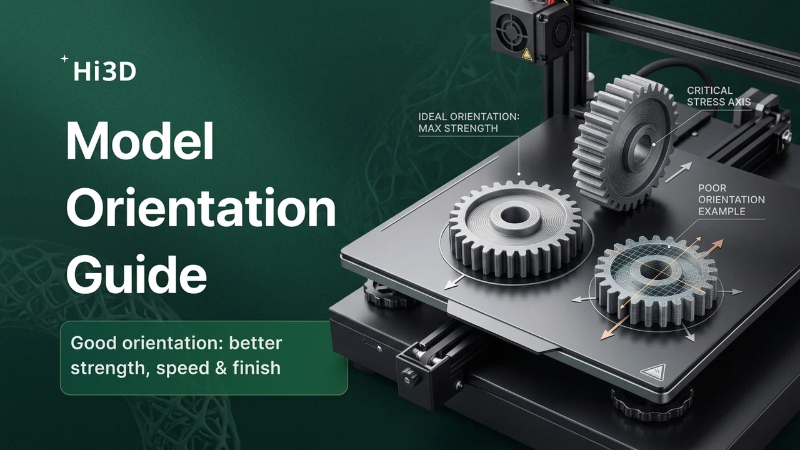
From a design perspective, beginners should avoid generating models that are:
- too tall and narrow
- too thin or fragile
- supported by very small base contact areas
- full of unnecessary overhangs
A flatter, sturdier, and more stable design is usually safer and more likely to succeed.
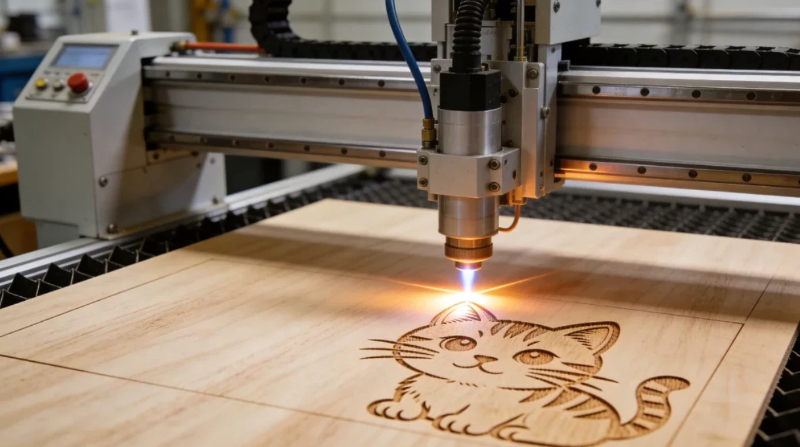
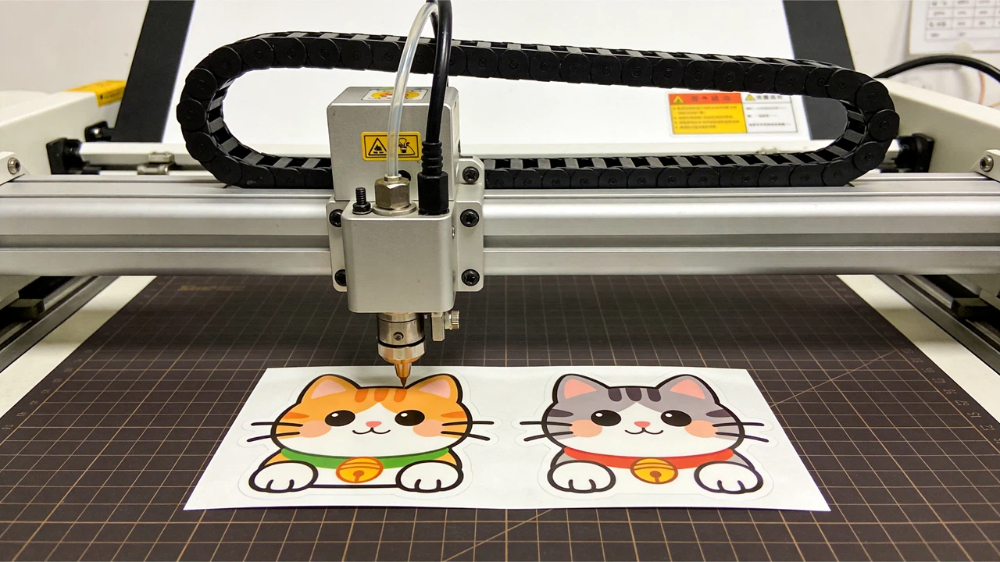
Laser Cutting and Laser Engraving Safety Tips
Laser workflows involve strong light, heat, smoke, fire risk, and material safety concerns.
Even small desktop laser projects require serious attention. Certain materials can burn, deform, or release harmful fumes. Smoke extraction and supervision are not optional extras—they are part of basic safe operation.
Key laser safety tips:
- Never stare directly at the laser source.
- Keep protective covers closed during operation.
- Do not leave the machine unattended while cutting or engraving.
- Use proper ventilation or fume extraction.
- Confirm that the material is laser-safe before processing it.
- Avoid unknown plastics or risky chlorine-containing materials.
For beginners, simpler artwork is usually safer. Overly dense engraving areas, excessive dark fills, or complicated overlapping paths can increase processing time and local heat buildup.
In Hi3D, safer laser-friendly prompts often ask for:
- clean line art
- simple contours
- separated cut and engrave logic
- lower visual density
- beginner-friendly composition
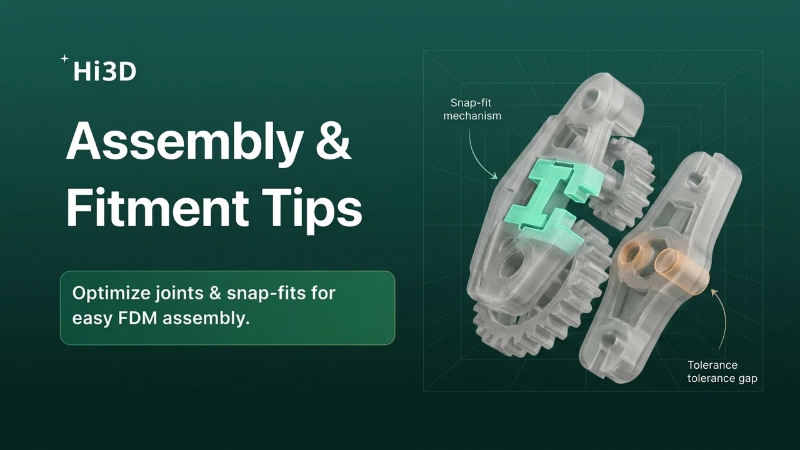
Blade Cutting and Vinyl Cutting Safety Tips
Blade cutting machines may look less intimidating than lasers, but they still involve sharp blades, moving tool heads, and material handling risks.
The most common beginner problems come from incorrect blade force, poor material fixation, or overly complex contours.
Key blade-cutting safety tips:
- Be careful when changing or adjusting the blade.
- Keep hands away from the cutting area while the machine is moving.
- Secure the material properly on the mat or feed system.
- Start with small test cuts before running a full sheet.
- Avoid excessive force settings that may damage the mat or backing.
For stickers, labels, and paper craft projects, highly fragmented shapes may look attractive but often create difficult weeding and unstable cutting behavior.
Cleaner outlines and more practical spacing make the workflow safer, faster, and less frustrating.
Safety Comparison: FDM vs. Laser vs. Blade Cutting
How Better Hi3D Prompts Can Reduce Risk
One useful thing about Hi3D is that safer outcomes often begin with better prompts.
For FDM printing, prompts can include ideas like:
- flat base
- stable structure
- thicker details
- fewer unsupported parts
- beginner-friendly printable shape
For laser workflows, prompts can include:
- clear line art
- simple engraving pattern
- clean closed contour
- low-density detail
- suitable for wood or acrylic engraving
For blade cutting, prompts can include:
- clean sticker outline
- easy-to-weed shape
- rounded corners
- clear white border
- simple contour for vinyl cutting
These prompt choices do not guarantee safety by themselves, but they reduce the chance of generating designs that are difficult, fragile, or risky to make.
Best First Projects for Beginners
If you are just starting out, choose projects with a low failure cost.
Good beginner examples include:
- FDM: small keychains, simple desk signs, basic figurines with flat bases
- Laser: coasters, simple tags, name plates, outline-style engraved pieces
- Blade cutting: large-outline stickers, labels, gift tags, simple paper craft elements
These are easier to test, faster to finish, and much better for building practical confidence than jumping directly into highly detailed, multi-step projects.
Final Takeaway
Safety in digital making is not just about protective habits during machine use. It is also about choosing designs that are realistic, stable, and appropriate for your tool.
That is where Hi3D becomes especially useful for beginners. It helps you start from a stronger design direction—but the smartest workflow still includes common sense, material awareness, proper supervision, and simple first projects.
If you want your first maker project to succeed, do not only ask whether it looks good. Ask whether it is safe to make, practical to process, and easy to test.
That mindset will save time, materials, and frustration from day one.